Übersicht
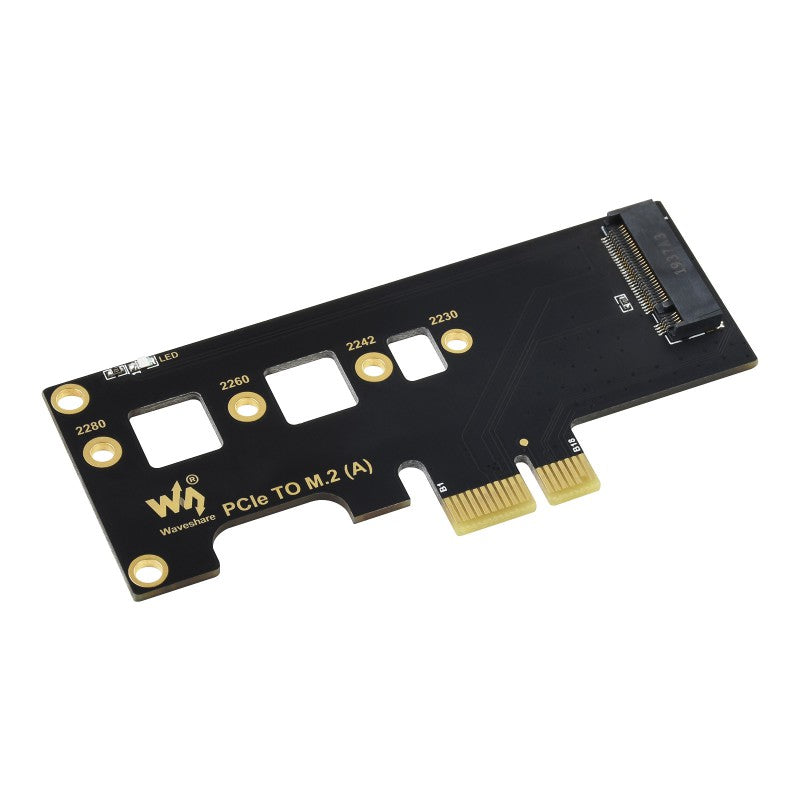
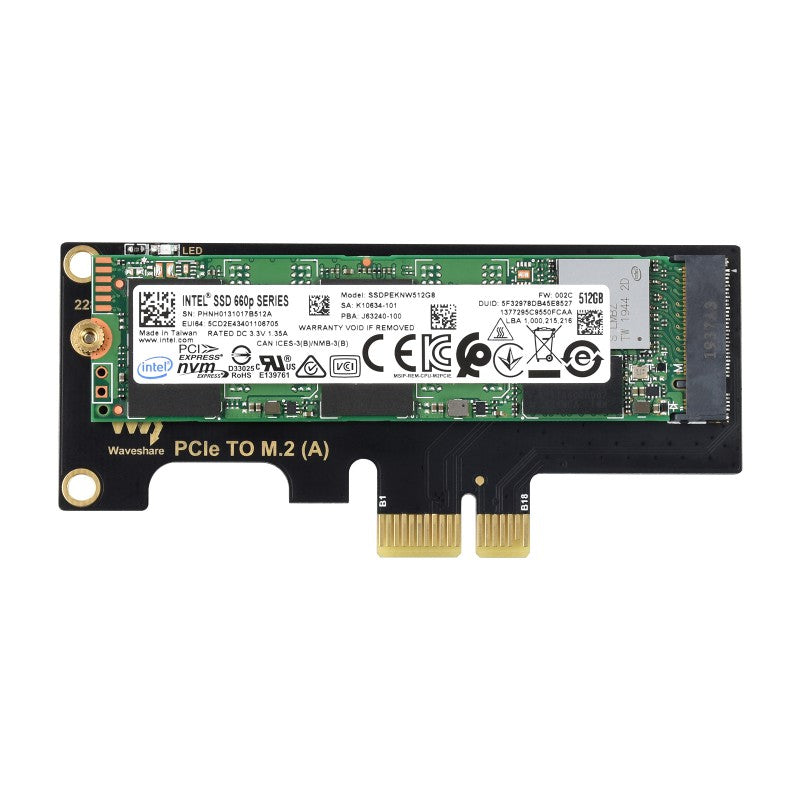
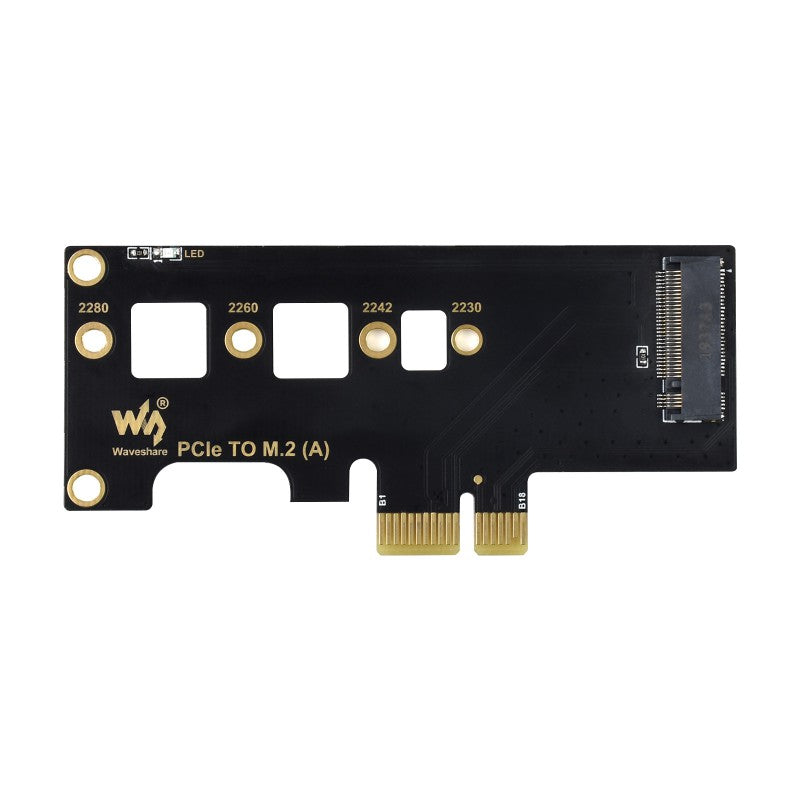
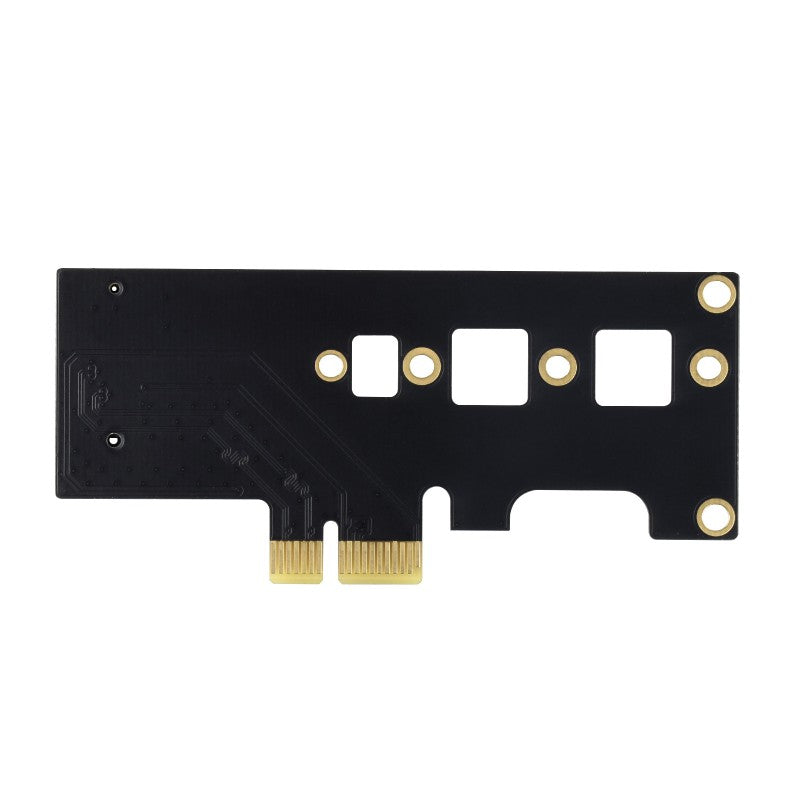
- PCIe TO M.2 (A) ist eine Adapterplatine für PCI-E zu M.2.
- Sie dient zum Anschluss von SSDs und unterstützt das Raspberry Pi Compute Module 4.
Merkmale
- Adapter für NVMe-Protokoll M.2 SSD, schnelleres Lesen/Schreiben, Effizienzsteigerung.
- Unterstützt Basisplatinen mit PCI-E×1/×4/×8/×16-Sockel.
- Unterstützt das Raspberry Pi Compute Module 4.
- Kompatibel mit verschiedenen Größen von M.2 SSDs.
- Integrierte Betriebsanzeige, die LED leuchtet beim Einschalten und blinkt beim Lesen/Schreiben.
SSD am CM4 montieren
-
SSD formatieren
- Stecken Sie die SSD in den PCI-E-zu-M.2-Adapter und befestigen Sie sie mit Schrauben.
- Schließen Sie die SSD an einen anderen PC an, um sie zuerst zu formatieren. Zum Beispiel können Sie sie an einen Windows-PC anschließen, da die meisten Windows-PCs über eine M.2- oder PCI-E-Schnittstelle verfügen.
- Fahren Sie Ihren PC herunter, bevor Sie die SSD anschließen, und starten Sie ihn dann neu.
- Formatieren Sie die SSD nach dem Erkennen.
- Hinweis: Verwenden Sie nicht den Schnellformatierungsmodus.
Laufwerkserkennung
- Schalten Sie das CM4 aus, verbinden Sie den Adapter mit dem CM4 und schalten Sie es wieder ein.
- Überprüfen Sie, ob das Laufwerk erkannt wird:
sudo fdisk -l- Überprüfen Sie den Speicher des Laufwerks:
df -h
Laufwerk einbinden
- Erstellen Sie ein neues Verzeichnis:
sudo mkdir /home/pi/toshiba
- Binden Sie das Laufwerk mit folgendem Befehl ein:
sudo mount /dev/nvme0n1p1 /home/pi/toshiba
- Überprüfen Sie den Speicher erneut:
df -h
- Wenn Sie Informationen über das neue Laufwerk erhalten, bedeutet dies, dass das Laufwerk erfolgreich eingebunden wurde.
- Der Name kann je nach Laufwerk unterschiedlich sein; in diesem Beispiel ist es "nvme0n1p1".
Lese-/Schreibtest
- Wechseln Sie in das Verzeichnis:
cd /home/pi/toshiba
- Speicher freigeben:
sudo sh -c "sync && echo 3 > /proc/sys/vm/drop_caches"
- Kopieren Sie die Pi-Daten auf die SSD (lesen):
sudo dd if=/dev/zero of=./test_write count=2000 bs=1024k
- Kopieren Sie die SSD-Daten auf Pi (schreiben):
sudo dd if=./test_write of=/dev/null count=2000 bs=1024k
- Hinweis: Die Testergebnisse können je nach SSD und Pi unterschiedlich sein. Wenn Sie die SSD testen möchten, können Sie sie an einen PC anschließen.
English Description
Overview
- PCIe TO M.2 (A) is an adapter board for PCI-E to M.2.
- It is used for connecting SSDs and supports the Raspberry Pi Compute Module 4.
Features
- Adapter for NVMe protocol M.2 SSD, faster reading/writing, improving efficiency.
- Supports base boards with PCI-E×1/×4/×8/×16 socket.
- Supports Raspberry Pi Compute Module 4.
- Compatible with different sizes of M.2 SSDs.
- Onboard operating indicator, the LED lights up when powered on and keeps blinking while reading/writing.
Mount the SSD to CM4
-
Format the SSD
- Insert the SSD into the PCI-E to M.2 adapter and fix it with screws.
- Connect the SSD to another PC to format it first. For example, you can connect it to a Windows PC because most Windows PCs have an M.2 or PCI-E interface.
- Shut down your PC before connecting the SSD, then reboot.
- Format the SSD after it is detected.
- Note: Do not use quick format mode.
Drive Detecting
- Turn off the CM4, connect the adapter to CM4, and turn it back on.
- Check if the disk is detected:
sudo fdisk -l- Check the memory of the disk:
df -h
Mount the Disk
- Create a new directory:
sudo mkdir /home/pi/toshiba
- Mount the disk using the following command:
sudo mount /dev/nvme0n1p1 /home/pi/toshiba
- Check the memory again:
df -h
- If you get the information of the new disk, it means that the disk was mounted successfully.
- The name may vary for different disks; in this example, it's "nvme0n1p1".
Read/Write Test
- Enter the directory:
cd /home/pi/toshiba
- Release the memory:
sudo sh -c "sync && echo 3 > /proc/sys/vm/drop_caches"
- Copy data from the Pi to the SSD (read):
sudo dd if=/dev/zero of=./test_write count=2000 bs=1024k
- Copy data from the SSD to Pi (write):
sudo dd if=./test_write of=/dev/null count=2000 bs=1024k
- Note: The test result may vary with different SSDs and Pi. If you want to test the SSD, you can connect it to a PC.


