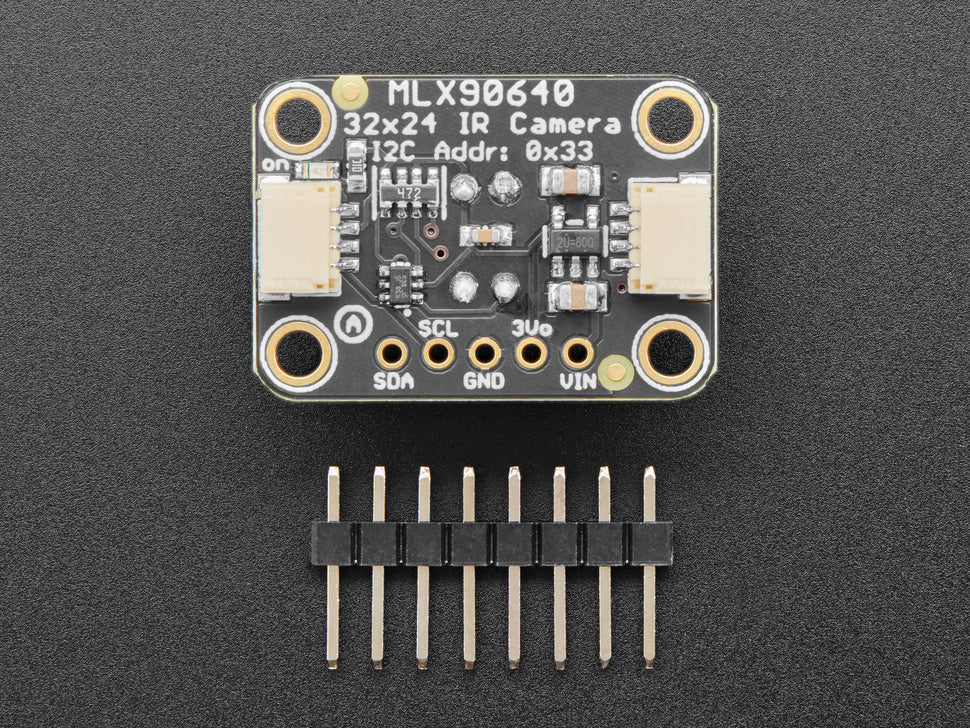
Adafruit MLX90640 IR Thermal Camera Breakout - 55 Degree
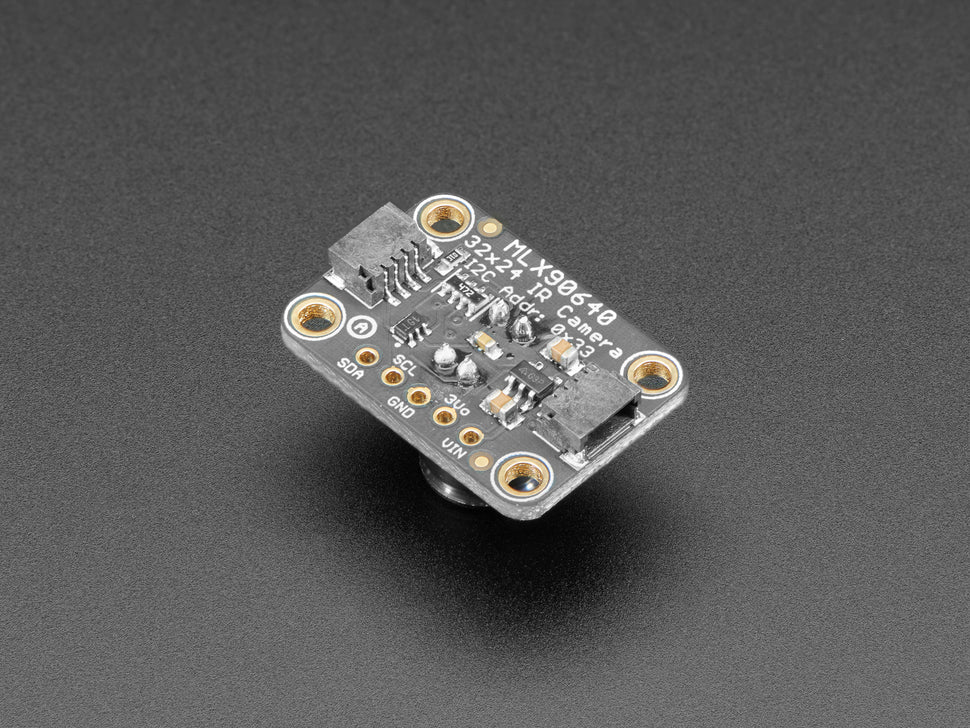
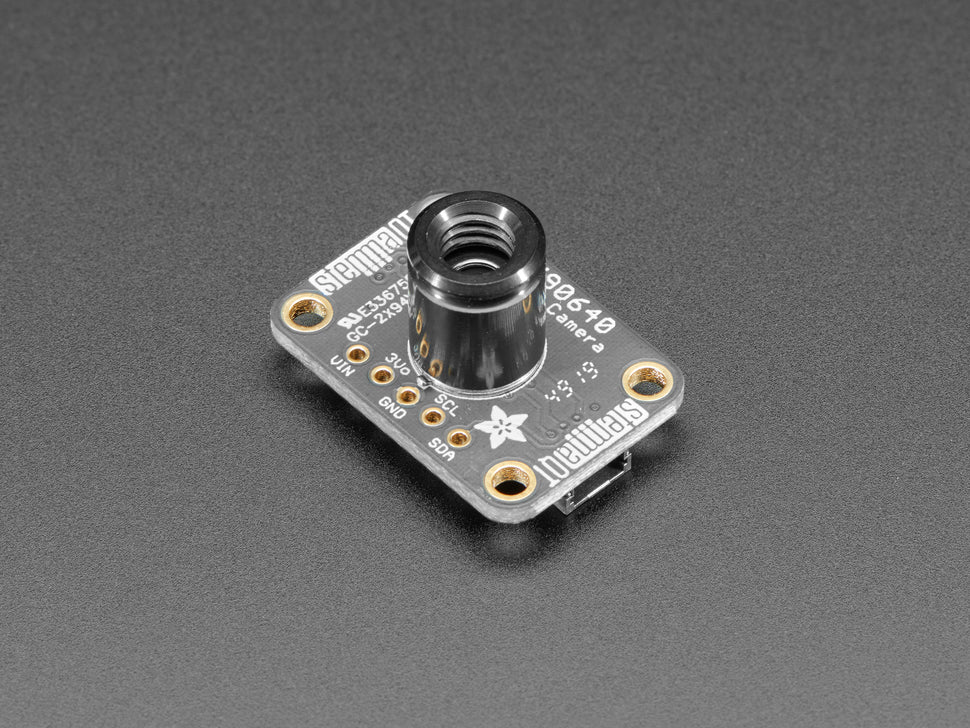
Mit dem Adafruit MLX90640 Wärmebildkamera-Breakout können Sie Ihrem Projekt jetzt eine kostengünstige Wärmebildkamera hinzufügen. Dieser Sensor enthält eine 24x32 Anordnung von IR-Wärmesensoren. Wenn Sie ihn an Ihren Mikrocontroller (oder Raspberry Pi) anschließen, wird er eine Reihe von 768 individuellen Infrarot-Temperaturmesswerten über I2C zurückgeben. Es ist wie diese ausgefallenen Wärmebildkameras, aber kompakt und einfach genug für eine einfache Integration.
Diese Version hat ein schmales Sichtfeld von 55°x35°.
Dieses Teil misst Temperaturen von -40°C bis 300°C mit einer Genauigkeit von +- 2°C (im Bereich von 0-100°C). Mit einer maximalen Bildwiederholrate von 16 Hz (die theoretische Grenze liegt bei 32 Hz, aber wir waren nicht in der Lage, sie praktisch zu erreichen) ist es perfekt für die Erstellung eines eigenen Menschen Detektors oder einer Mini-Wärmekamera. Adafruit hat Code für die Verwendung dieses Sensors auf einem Arduino oder kompatibel (der Sensor kommuniziert über I2C) oder auf einem Raspberry Pi mit Python. Wenn Sie einen kompatiblen Arduino verwenden, benötigen Sie einen Prozessor mit mindestens 20 KB RAM - ein SAMD21 (M0) oder SAMD51 (M4) Chipsatz ist gut geeignet. Auf dem Pi können Sie mit Hilfe der Python-Bibliothek SciPy sogar eine Interpolationsverarbeitung durchführen und so ziemlich schöne Ergebnisse erzielen!
Dieser Sensor liest die Daten zweimal pro Frame, in einem Schachbrettmuster, so dass es normal ist, einen Schachbrett-Dither-Effekt zu sehen, wenn man den Sensor herumbewegt - der Effekt ist nicht bemerkbar, wenn sich die Dinge langsam bewegen.
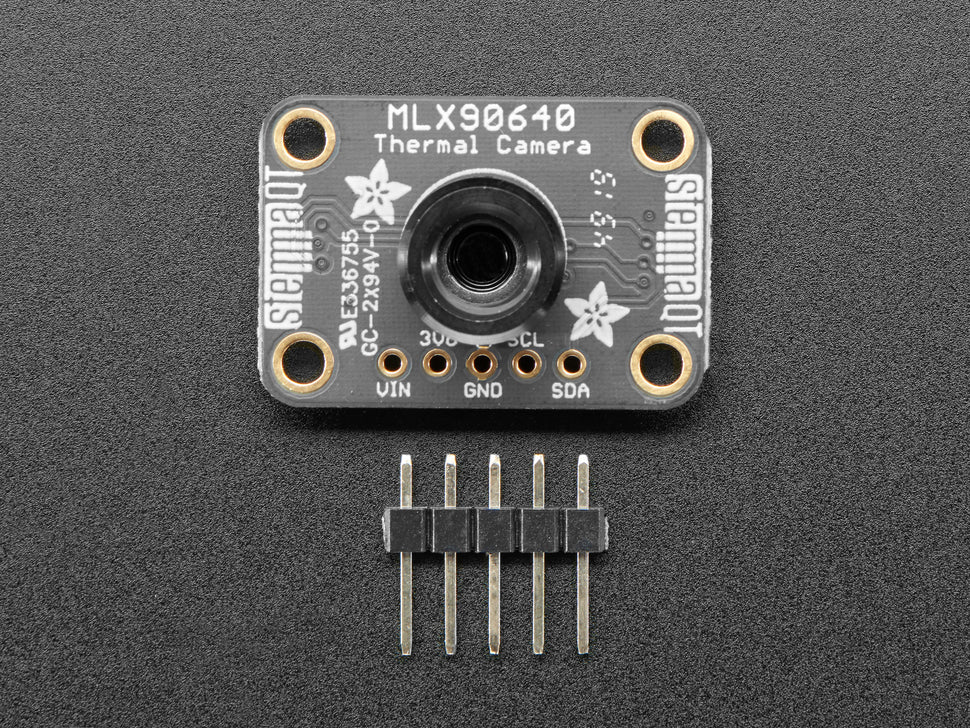
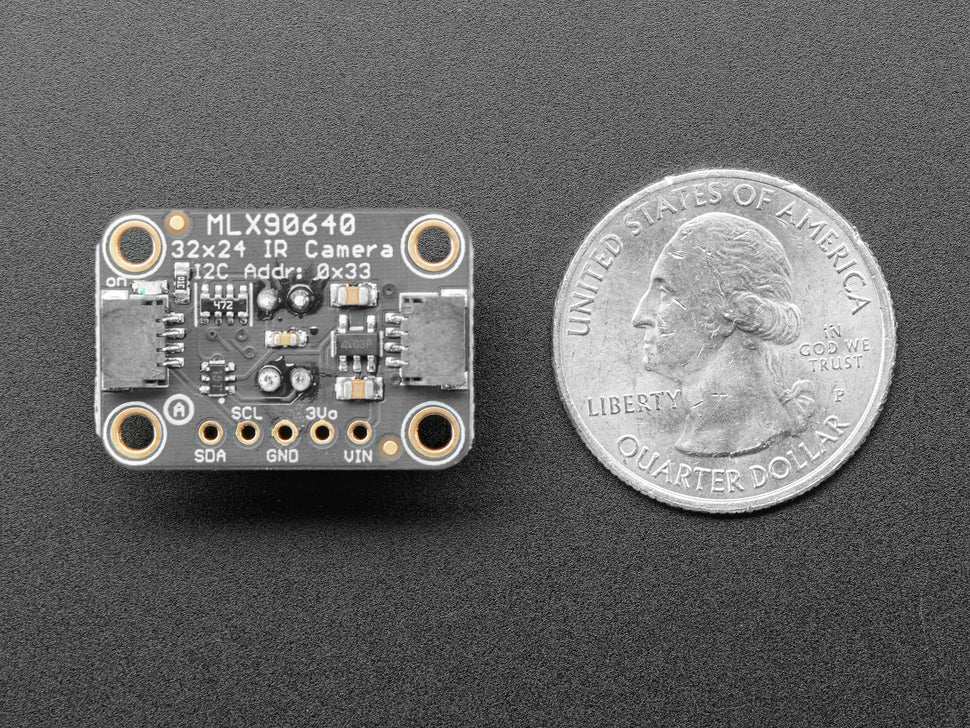
Um die Verwendung zu vereinfachen, hat Adafruit den Sensor von Hand auf ein Breakout-Board mit einem 3,3-V-Regler und Level-Shifting gelötet. Du kannst ihn also mit jedem 3V- oder 5V-Mikrocontroller oder Computer verwenden. Adafruit hat sogar SparkFun qwiic-kompatible STEMMA QT-Stecker für den I2C-Bus beigelegt, so dass Sie nicht einmal löten müssen! Einfach plug-n-play mit einem STEMMA QT (JST SH) Kabel. Das QT-Kabel ist nicht im Lieferumfang enthalten, aber Adafruit hat eine große Auswahl im Shop.
Noch besser - Adafruit hat die ganze harte Arbeit hier erledigt, mit Beispielcode und unterstützenden Software-Bibliotheken, um Sie in nur ein paar Zeilen Arduino- oder Python-Code zum Laufen zu bringen.
Adafruit MLX90640 IR Thermal Camera Breakout - 55 Degree
You can now add affordable heat-vision to your project and with an Adafruit MLX90640 Thermal Camera Breakout. This sensor contains a 24x32 array of IR thermal sensors. When connected to your microcontroller (or Raspberry Pi) it will return an array of 768 individual infrared temperature readings over I2C. It's like those fancy thermal cameras, but compact and simple enough for easy integration.
This version has a narrow 55°x35° field of view we also have a version with a wider 110°x70° field of view
This part will measure temperatures ranging from -40°C to 300°C with an accuracy of +- 2°C (in the 0-100°C range). With a maximum frame rate of 16 Hz (the theoretical limit is 32Hz but we were not able to practically achieve it), It's perfect for creating your own human detector or mini thermal camera. Adafruit has code for using this sensor on an Arduino or compatible (the sensor communicates over I2C) or on a Raspberry Pi with Python. If using an Arduino-compatible, you'll need a processor with at least 20KB RAM - a SAMD21 (M0) or SAMD51 (M4) chipset will do nicely. On the Pi, you can even perform interpolation processing with help from the SciPy python library and get some pretty nice results!
This sensor reads the data twice per frame, in a checker-board pattern, so it's normal to see a checker-board dither effect when moving the sensor around - the effect isn't noticeable when things move slowly.
To make it easy to use, Adafruit hand-soldered it on a breakout board with a 3.3V regulator and level shifting. So you can use it with any 3V or 5V microcontroller or computer. Adafruit has even included SparkFun qwiic compatible STEMMA QT connectors for the I2C bus so you don't even need to solder! Just plug-n-play with any STEMMA QT (JST SH) cables. QT Cable is not included, but Adafruit has a variety in the shop.
Even better - Adafruit has done all the hard work here, with example code and supporting software libraries to get you up in running in just a few lines of Arduino or Python code.
Sicherheitsangaben
- Lesen Sie die Bedienungsanleitung sorgfältig durch, bevor Sie das Produkt verwenden.
- Stellen Sie sicher, dass alle Montage- und Installationsanweisungen des Herstellers sorgfältig befolgt werden.
- Verwenden Sie das Produkt nur für den vorgesehenen Zweck.
- Die unsachgemäße Nutzung dieses Produkts kann zu schweren Verletzungen oder Sachschäden führen.
- Nicht für Kinder unter 10 Jahren geeignet.
- Bei unsachgemäßer Verwendung besteht eine Verletzungsgefahr.
- Dieses Produkt entspricht den geltenden Sicherheitsanforderungen der Europäischen Union.
- Dieses Produkt wurde gemäß der GPSR geprüft, die sicherstellt, dass alle relevanten Sicherheitsanforderungen für Konsumgüter eingehalten werden.
Nachverfolgbarkeitsinformationen
Jedes Produkt verfügt über eines oder mehrere der folgenden Merkmale:
- Ein CE-Kennzeichen, das die Einhaltung der Sicherheits-, Gesundheits- und Umweltschutzanforderungen der Europäischen Union anzeigt.
- Eine eindeutige Serien- oder Chargennummer, um die Nachverfolgbarkeit zu gewährleisten und bei Bedarf Rückrufaktionen zu unterstützen.
- Hersteller- und Importeurangaben für den Kundensupport und Sicherheitsanfragen.
Überwachung und Berichterstattung von Vorfällen
Für den unwahrscheinlichen Fall eines Produktproblems haben wir Verfahren implementiert, um:
- Kundenbeschwerden zeitnah bearbeiten.
- Schwerwiegende Vorfälle über das EU Safety Gate/RAPEX-System melden.
- Mit den Marktüberwachungsbehörden zusammenarbeiten, um die öffentliche Sicherheit zu gewährleisten.
Kontakt:
- Email: support [@] pi3g.com
- Telefon: 0341 / 392 858 40
Dieses Produkt ist vollständig mit allen geltenden EU-Vorschriften konform, um die Sicherheit unserer geschätzten Kunden zu gewährleisten.

