BESCHREIBUNG
- Trinket verfügt nicht über eine serielle Schnittstelle für Debugging, so dass der serielle Monitor keine Daten senden/empfangen kann.
- Die USB v3-Ports einiger Computer erkennen den Bootloader des Trinket nicht. Verwenden Sie einfach einen USB v2-Anschluss oder einen USB-Hub dazwischen
- ATtiny85 on-board, 8K Flash, 512 Byte SRAM, 512 Byte EEPROM
- Interner Oszillator läuft mit 8MHz, kann aber per Software auf 16MHz verdoppelt werden
- USB-Bootloader mit einer netten LED-Anzeige sieht aus wie ein USBtinyISP, so dass man ihn mit AVRdude (mit einer einfachen Konfigurationsänderung) und/oder der Arduino-IDE (mit ein paar einfachen Konfigurationsänderungen) programmieren kann
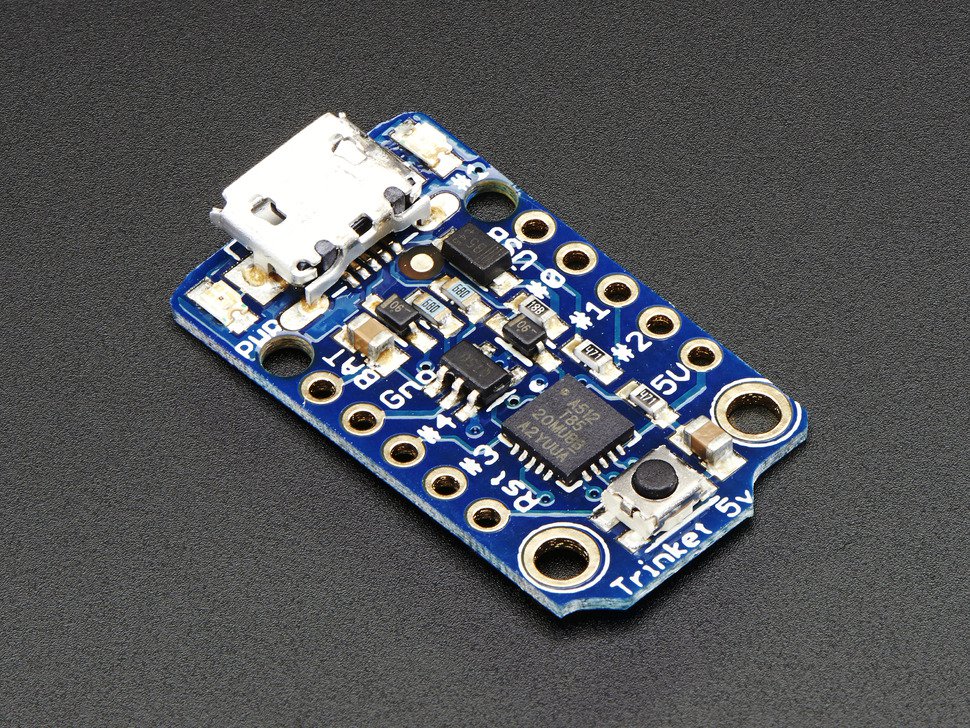
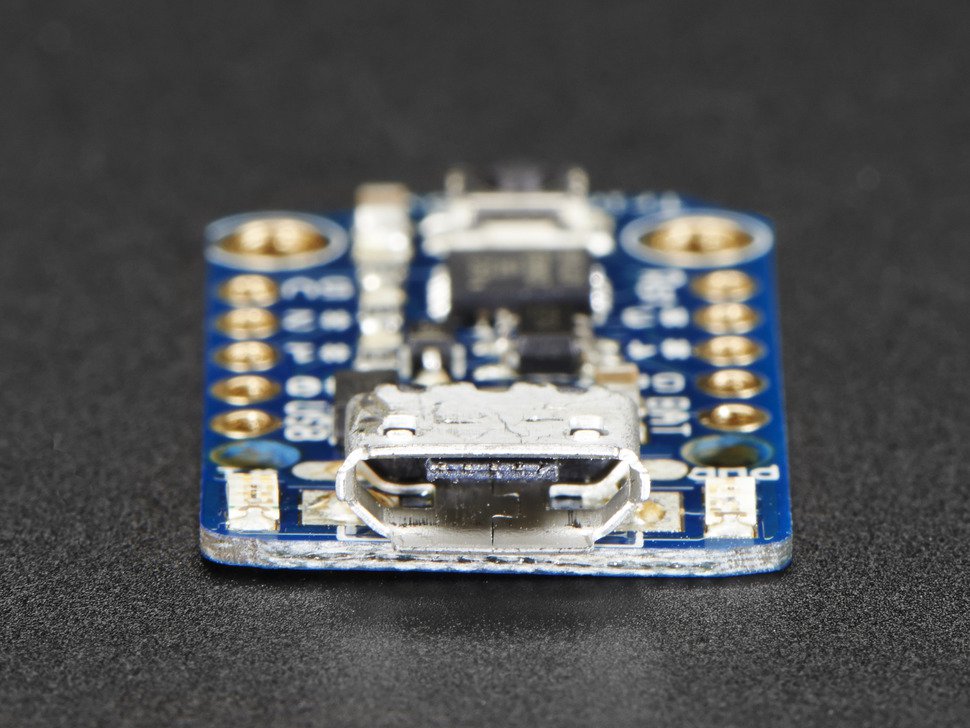
- Micro-USB-Buchse für die Stromversorgung und/oder das Hochladen über USB. Man kann ihn in eine Box stecken oder mit Klebeband befestigen und ein beliebiges USB-Kabel verwenden, wenn man ihn neu programmieren will.
- Wir haben wirklich hart an dem Bootloader-Prozess gearbeitet, um ihn robust und narrensicher zu machen. Dieses Board wird nicht mitten in einem Projekt aufgeben und sterben!
- ~5,25K Bytes verfügbar für die Verwendung (2,75K für den Bootloader)
- Erhältlich in 3V- und 5V-Varianten
- Integrierter 3,3-V- oder 5,0-V-Stromregler mit 150 mA Ausgangsleistung und extrem niedrigem Dropout. Bis zu 16V Eingangsspannung, Verpolungsschutz, Schutz vor Überhitzung und Strombegrenzung.
- Stromversorgung über USB oder einen externen Ausgang (z. B. eine Batterie) - die Umschaltung erfolgt automatisch
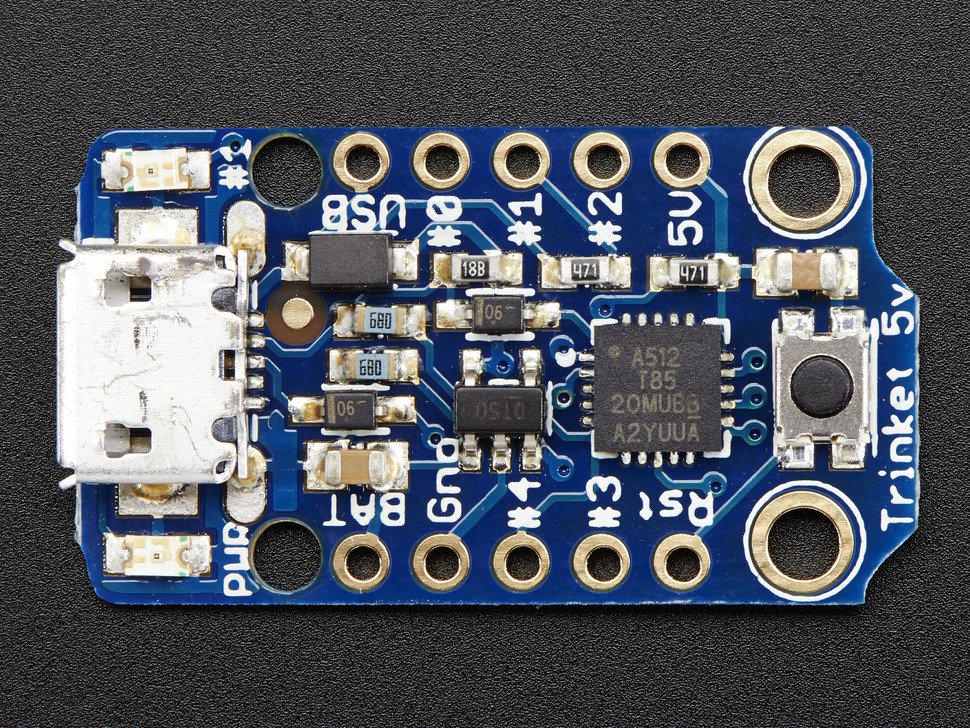
- Integrierte grüne Power-LED und rote Pin-1-LED
- Reset-Taste zum Aufrufen des Bootloaders oder zum Neustart des Programms. Sie müssen das Board nicht jedes Mal aus- und wieder einstecken, wenn Sie es zurücksetzen oder aktualisieren wollen!
- 5 GPIO - 2 gemeinsam mit der USB-Schnittstelle. Die 3 unabhängigen IO-Pins verfügen über 1 Analogeingang und 2 PWM-Ausgänge. Die 2 gemeinsam genutzten IO-- Pins haben 2 weitere Analogeingänge und einen weiteren PWM-Ausgang.
- Hardware I2C / SPI-Fähigkeit für Breakout- und Sensorschnittstellen.
- Funktioniert mit vielen grundlegenden Arduino-Bibliotheken, einschließlich Adafruit Neopixel!
- Befestigungslöcher! Ja, genau!
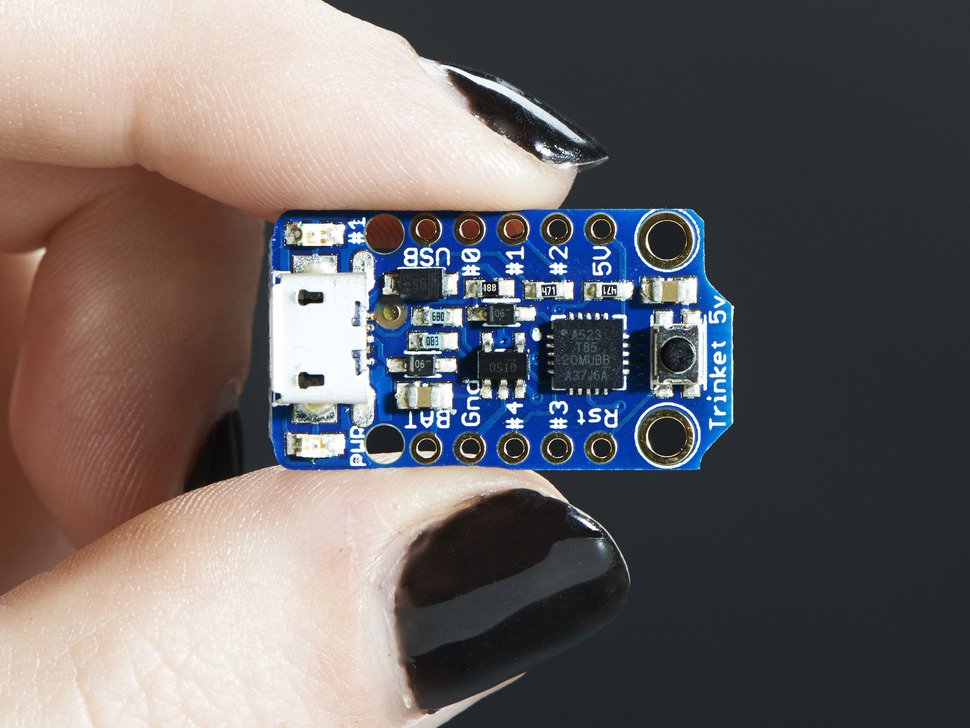
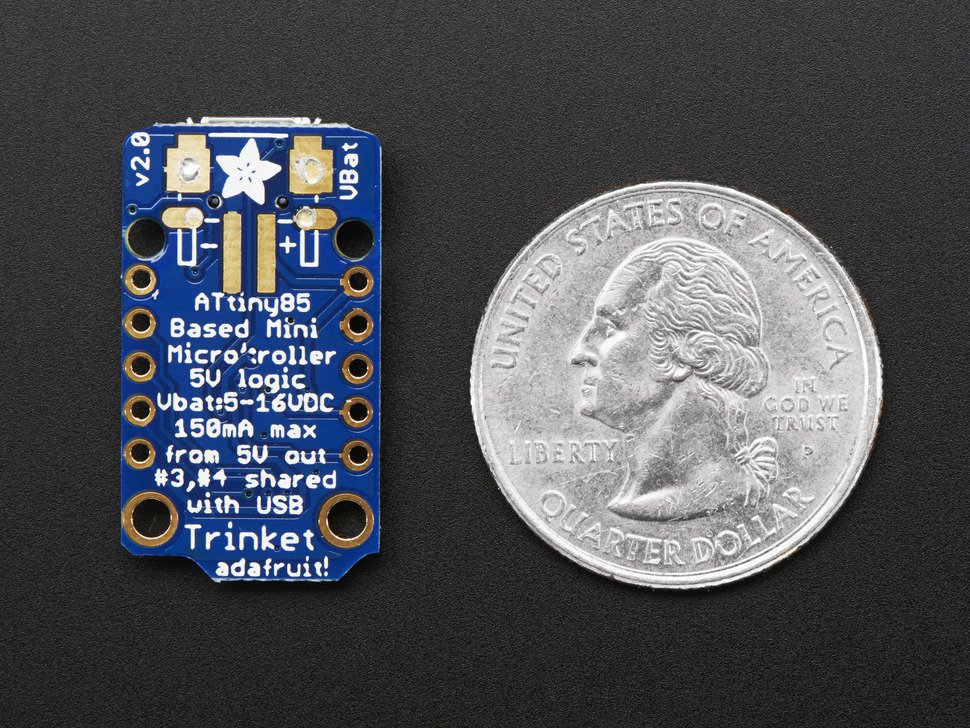
- Wirklich sehr klein
- Abmessungen: 1,2" x 0,6" x 0,2" / 31mm x 15,5 x 5mm
- Gewicht (ohne Header): 1,85 Gramm
- Datenblatt, EagleCAD PCB Dateien, Schaltpläne und Fritzing Library sind im Produkttutorial verfügbar
DESCRIPTION
As of October 9th, 2015 the 5V Trinket comes with a micro-USB connector instead of a mini-USB connector!
Trinket may be small, but do not be fooled by its size! It's a tiny microcontroller board, built around the Atmel ATtiny85, a little chip with a lot of power. We wanted to design a microcontroller board that was small enough to fit into any project, and low cost enough to use without hesitation. Perfect for when you don't want to give up your expensive dev-board and you aren't willing to take apart the project you worked so hard to design. It's our lowest-cost arduino-IDE programmable board!
The Attiny85 is a fun processor because despite being so small, it has 8K of flash, and 5 I/O pins, including analog inputs and PWM 'analog' outputs. We designed a USB bootloader so you can plug it into any computer and reprogram it over a USB port just like an Arduino. In fact we even made some simple modifications to the Arduino IDE so that it works like a mini-Arduino board. You can't stack a big shield on it but for many small & simple projects the Trinket will be your go-to platform.
This is the 5V Trinket. There are two versions of the Trinket. One is 3V and one is 5V. Both work the same, but have different operating logic voltages. Use the 3V one to interface with sensors and devices that need 3V logic, or when you want to power it off of a LiPo battery. The 3V version should only run at 8 MHz. Use the 5V one for sensors and components that can use or require 5V logic. The 5V version can run at 8 MHz or at 16MHz by setting the software-set clock frequency.
Even though you can program Trinket using the Arduino IDE, it's not a fully 100% Arduino-compatible. There are some things you trade off for such a small and low cost microcontroller!
- Trinket does not have a Serial port connection for debugging so the serial port monitor will not be able to send/receive data
- Some computers' USB v3 ports don't recognize the Trinket's bootloader. Simply use a USB v2 port or a USB hub in between
Here are some useful specifications!
- ATtiny85 on-board, 8K of flash, 512 byte of SRAM, 512 bytes of EEPROM
- Internal oscillator runs at 8MHz, but can be doubled in software for 16MHz
- USB bootloader with a nice LED indicator looks just like a USBtinyISP so you can program it with AVRdude (with a simple config modification) and/or the Arduino IDE (with a few simple config modifications)
- Micro-USB jack for power and/or USB uploading, you can put it in a box or tape it up and use any USB cable for when you want to reprogram.
- We really worked hard on the bootloader process to make it rugged and foolproof, this board wont up and die on you in the middle of a project!
- ~5.25K bytes available for use (2.75K taken for the bootloader)
- Available in both 3V and 5V flavors
- On-board 3.3V or 5.0V power regulator with 150mA output capability and ultra-low dropout. Up to 16V input, reverse-polarity protection, thermal and current-limit protection.
- Power with either USB or external output (such as a battery) - it'll automatically switch over
- On-board green power LED and red pin #1 LED
- Reset button for entering the bootloader or restarting the program. No need to unplug/replug the board every time you want to reset or update!
- 5 GPIO - 2 shared with the USB interface. The 3 independent IO pins have 1 analog input and 2 PWM output as well. The 2 shared IO pins have 2 more analog inputs and one more PWM output.
- Hardware I2C / SPI capability for breakout & sensor interfacing.
- Works with many basic Arduino libraries including Adafruit Neopixel!
- Mounting holes! Yeah!
- Really really small
TECHNICAL DETAILS
- Dimensions: 1.2" x 0.6" x 0.2" / 31mm x 15.5 x 5mm
- Weight (no headers): 1.85 grams
- Datasheet, EagleCAD PCB files, schematics, and Fritzing Library available in the product tutorial
Sicherheitsangaben
- Lesen Sie die Bedienungsanleitung sorgfältig durch, bevor Sie das Produkt verwenden.
- Stellen Sie sicher, dass alle Montage- und Installationsanweisungen des Herstellers sorgfältig befolgt werden.
- Verwenden Sie das Produkt nur für den vorgesehenen Zweck.
- Die unsachgemäße Nutzung dieses Produkts kann zu schweren Verletzungen oder Sachschäden führen.
- Nicht für Kinder unter 10 Jahren geeignet.
- Bei unsachgemäßer Verwendung besteht eine Verletzungsgefahr.
- Dieses Produkt entspricht den geltenden Sicherheitsanforderungen der Europäischen Union.
- Dieses Produkt wurde gemäß der GPSR geprüft, die sicherstellt, dass alle relevanten Sicherheitsanforderungen für Konsumgüter eingehalten werden.
Nachverfolgbarkeitsinformationen
Jedes Produkt verfügt über eines oder mehrere der folgenden Merkmale:
- Ein CE-Kennzeichen, das die Einhaltung der Sicherheits-, Gesundheits- und Umweltschutzanforderungen der Europäischen Union anzeigt.
- Eine eindeutige Serien- oder Chargennummer, um die Nachverfolgbarkeit zu gewährleisten und bei Bedarf Rückrufaktionen zu unterstützen.
- Hersteller- und Importeurangaben für den Kundensupport und Sicherheitsanfragen.
Überwachung und Berichterstattung von Vorfällen
Für den unwahrscheinlichen Fall eines Produktproblems haben wir Verfahren implementiert, um:
- Kundenbeschwerden zeitnah bearbeiten.
- Schwerwiegende Vorfälle über das EU Safety Gate/RAPEX-System melden.
- Mit den Marktüberwachungsbehörden zusammenarbeiten, um die öffentliche Sicherheit zu gewährleisten.
Kontakt:
- Email: support [@] pi3g.com
- Telefon: 0341 / 392 858 40
Dieses Produkt ist vollständig mit allen geltenden EU-Vorschriften konform, um die Sicherheit unserer geschätzten Kunden zu gewährleisten.

