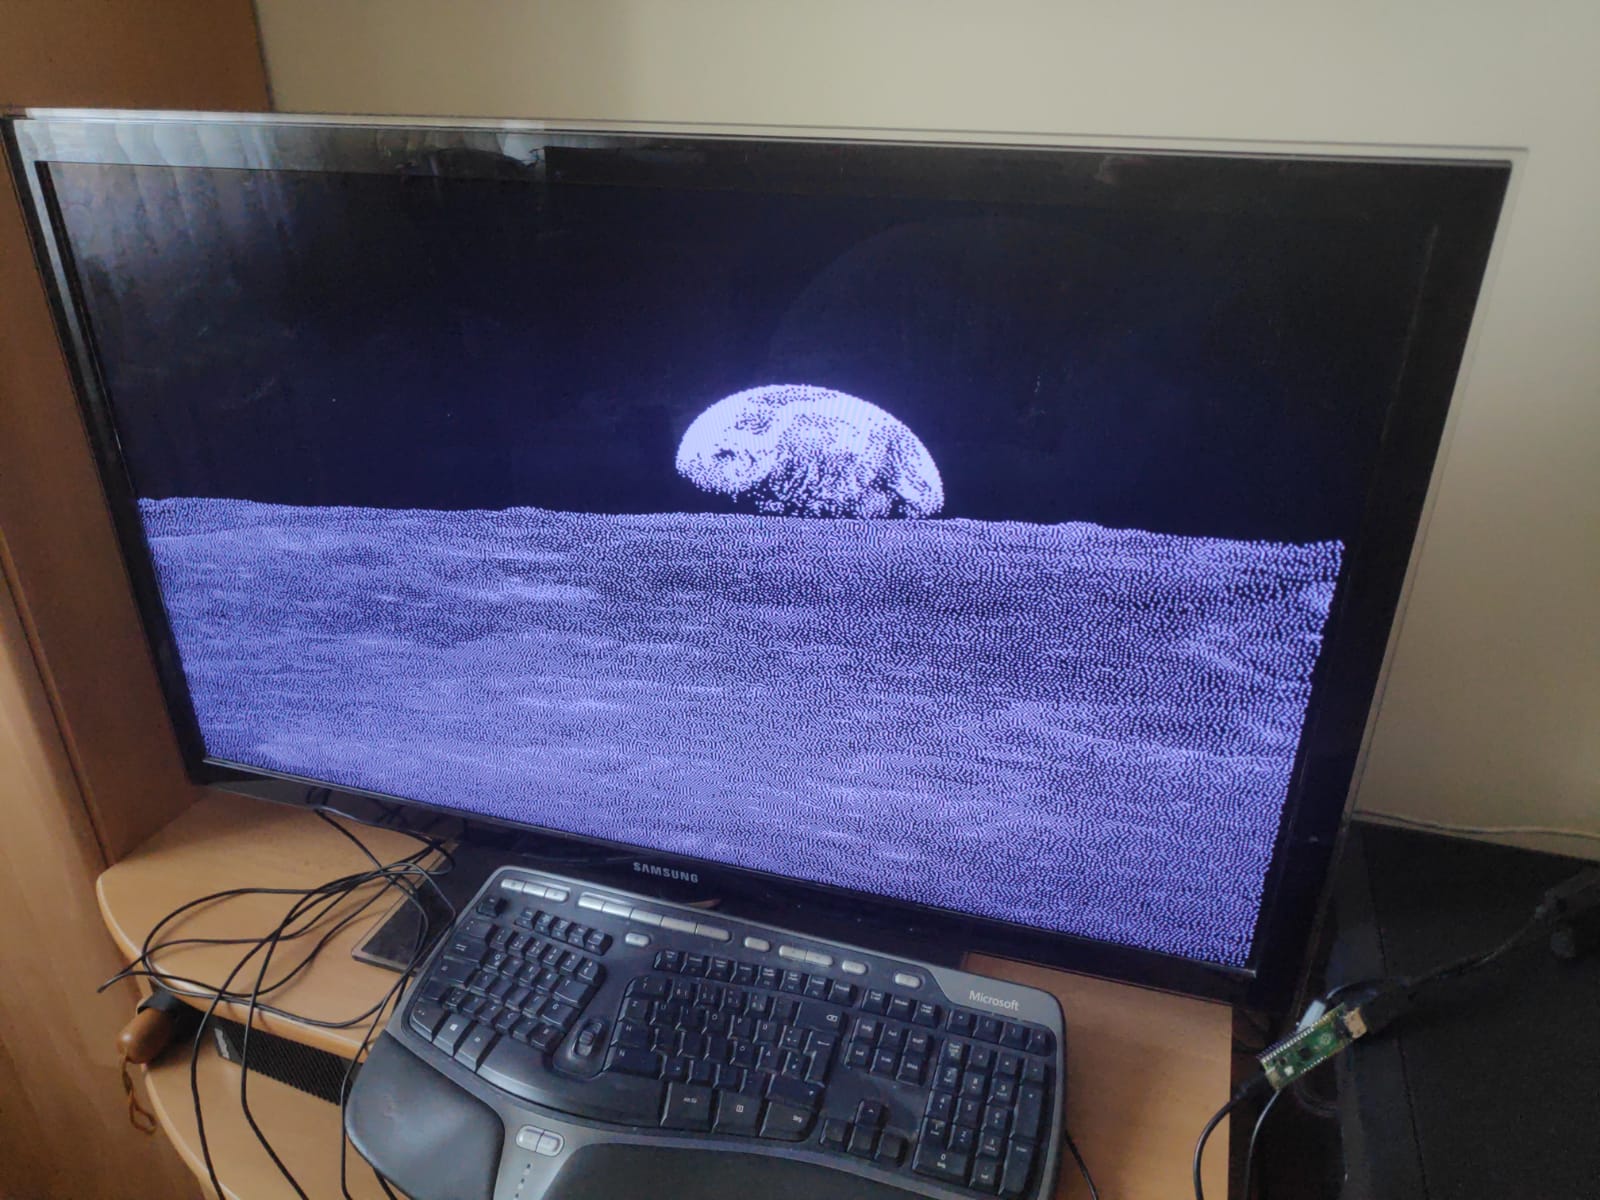
Der Raspberry Pi Pico hat im Gegensatz zu anderen Raspberry Pi Boards keinen eingebauten Videoausgang.
Dank programmierbarer IO (PIO) und diesem Pico DVI Sock ist es aber möglich einen DVI Videoausgang zu dem Raspberry Pi Pico hinzuzufügen!
Der Pico DVI Sock wurde von Luke Wren, einem Raspberry Pi Ingenieur in seiner Freizeit entwickelt. Er hat das Design unter einer CC0 Lizenz zum freien nachbauen ins Netz gestellt - daher haben wir das für euch aufgelegt.
Produktvarianten
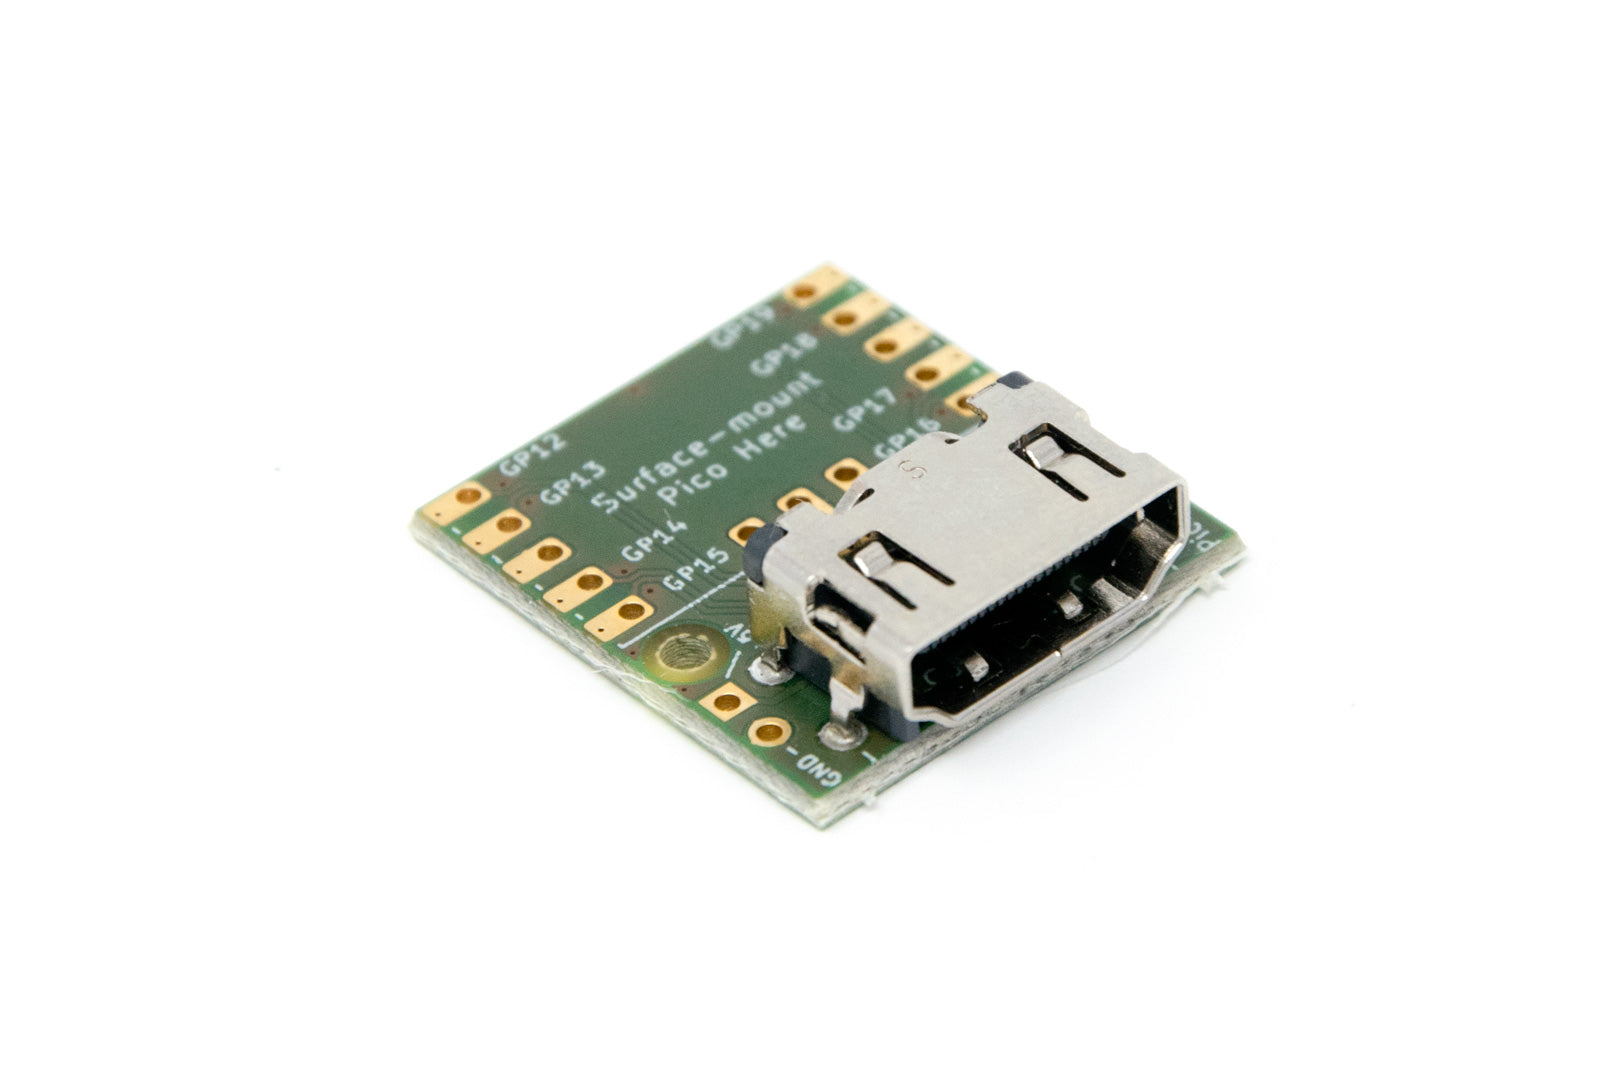
Pico DVI Sock
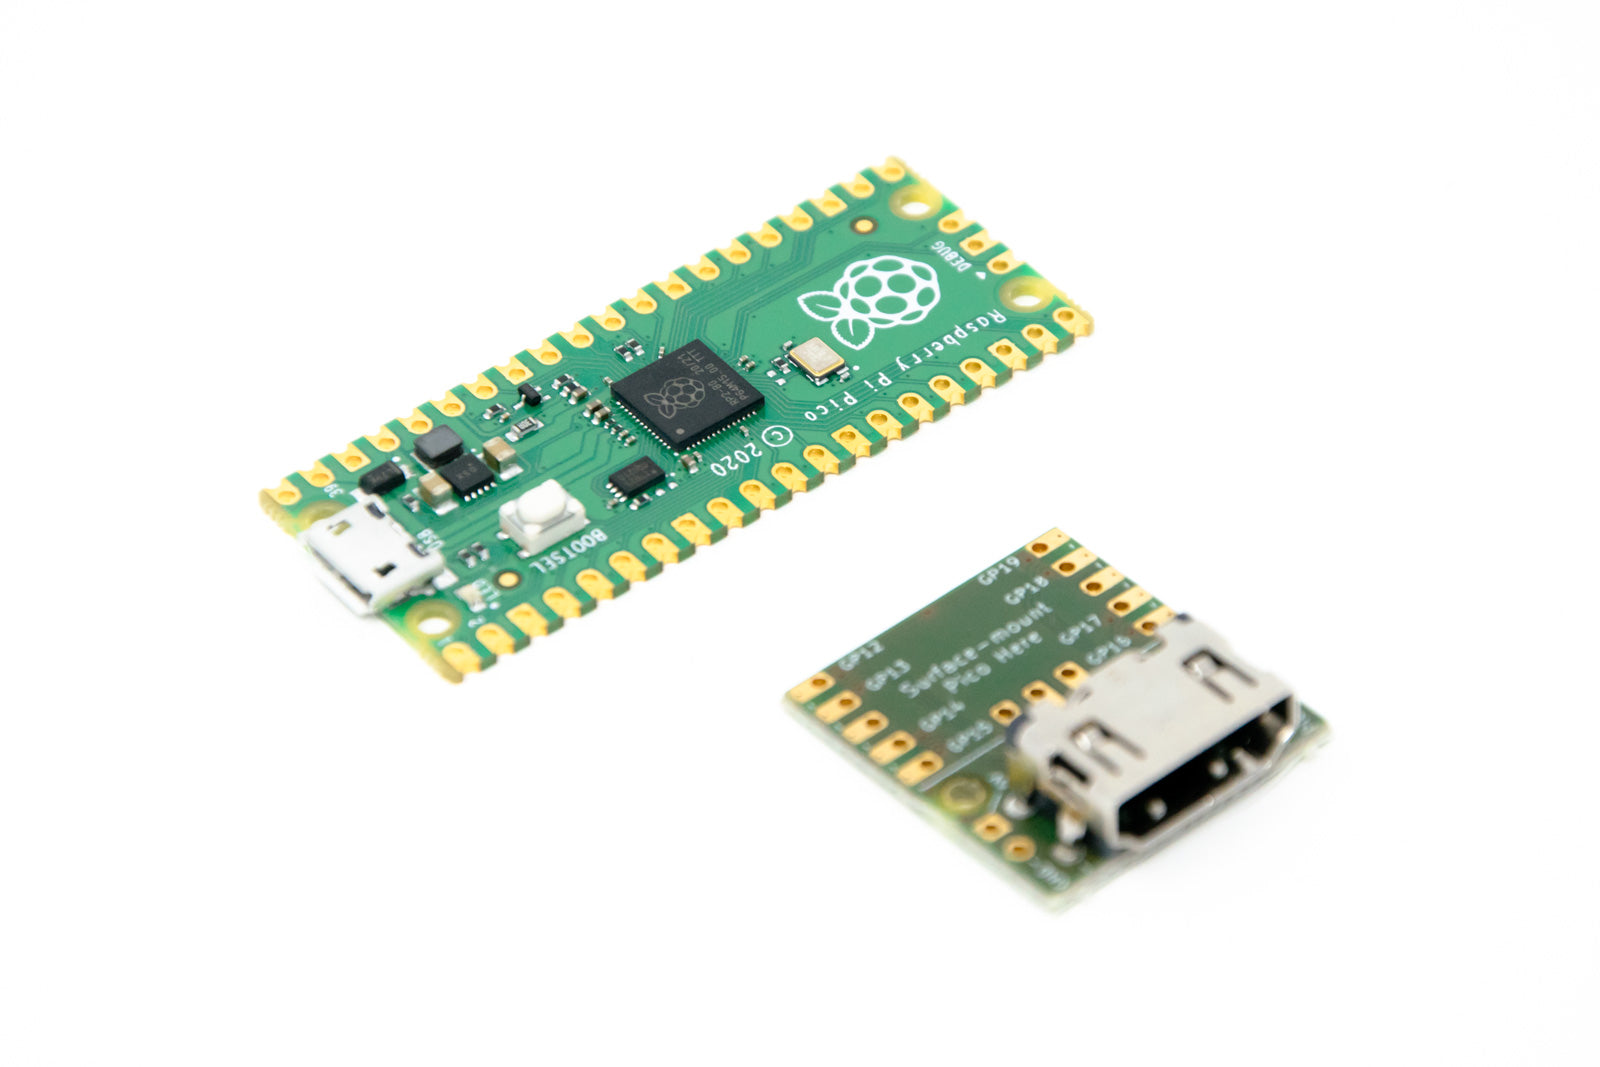
Die Basisvariante - in dieser wird nur der Pico DVI Sock ausgeliefert. (Abbildung mit Pico dient der Illustration und dem Größenvergleich)
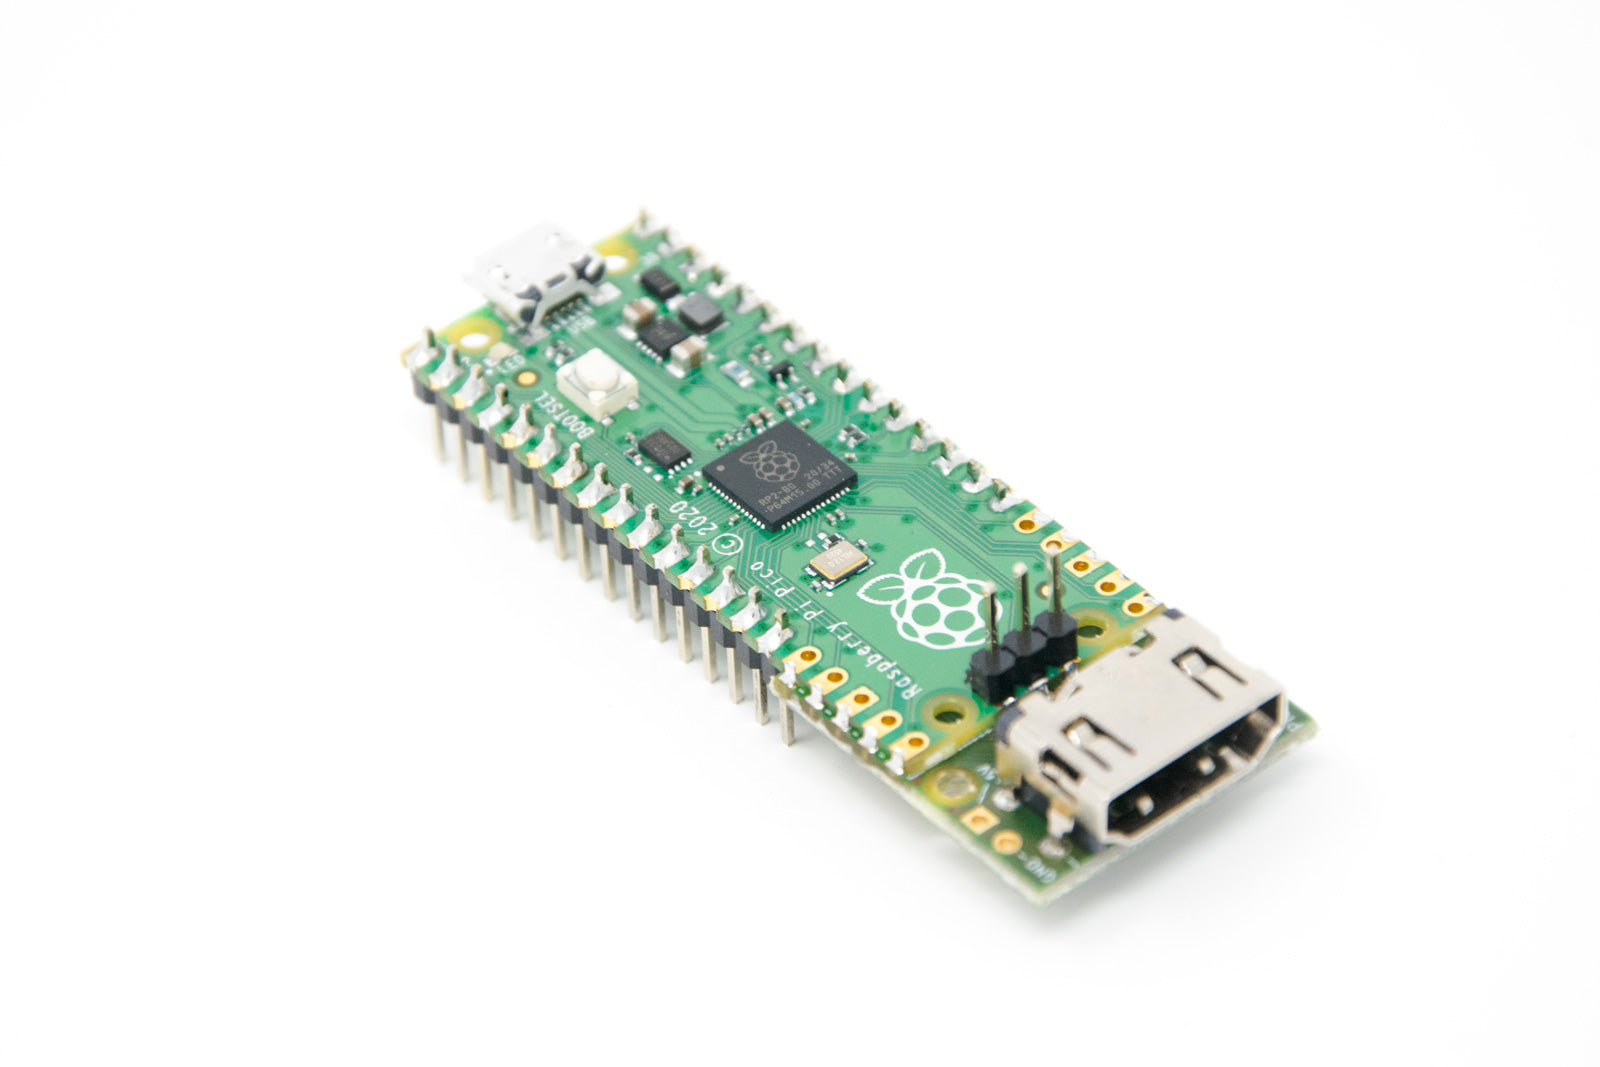
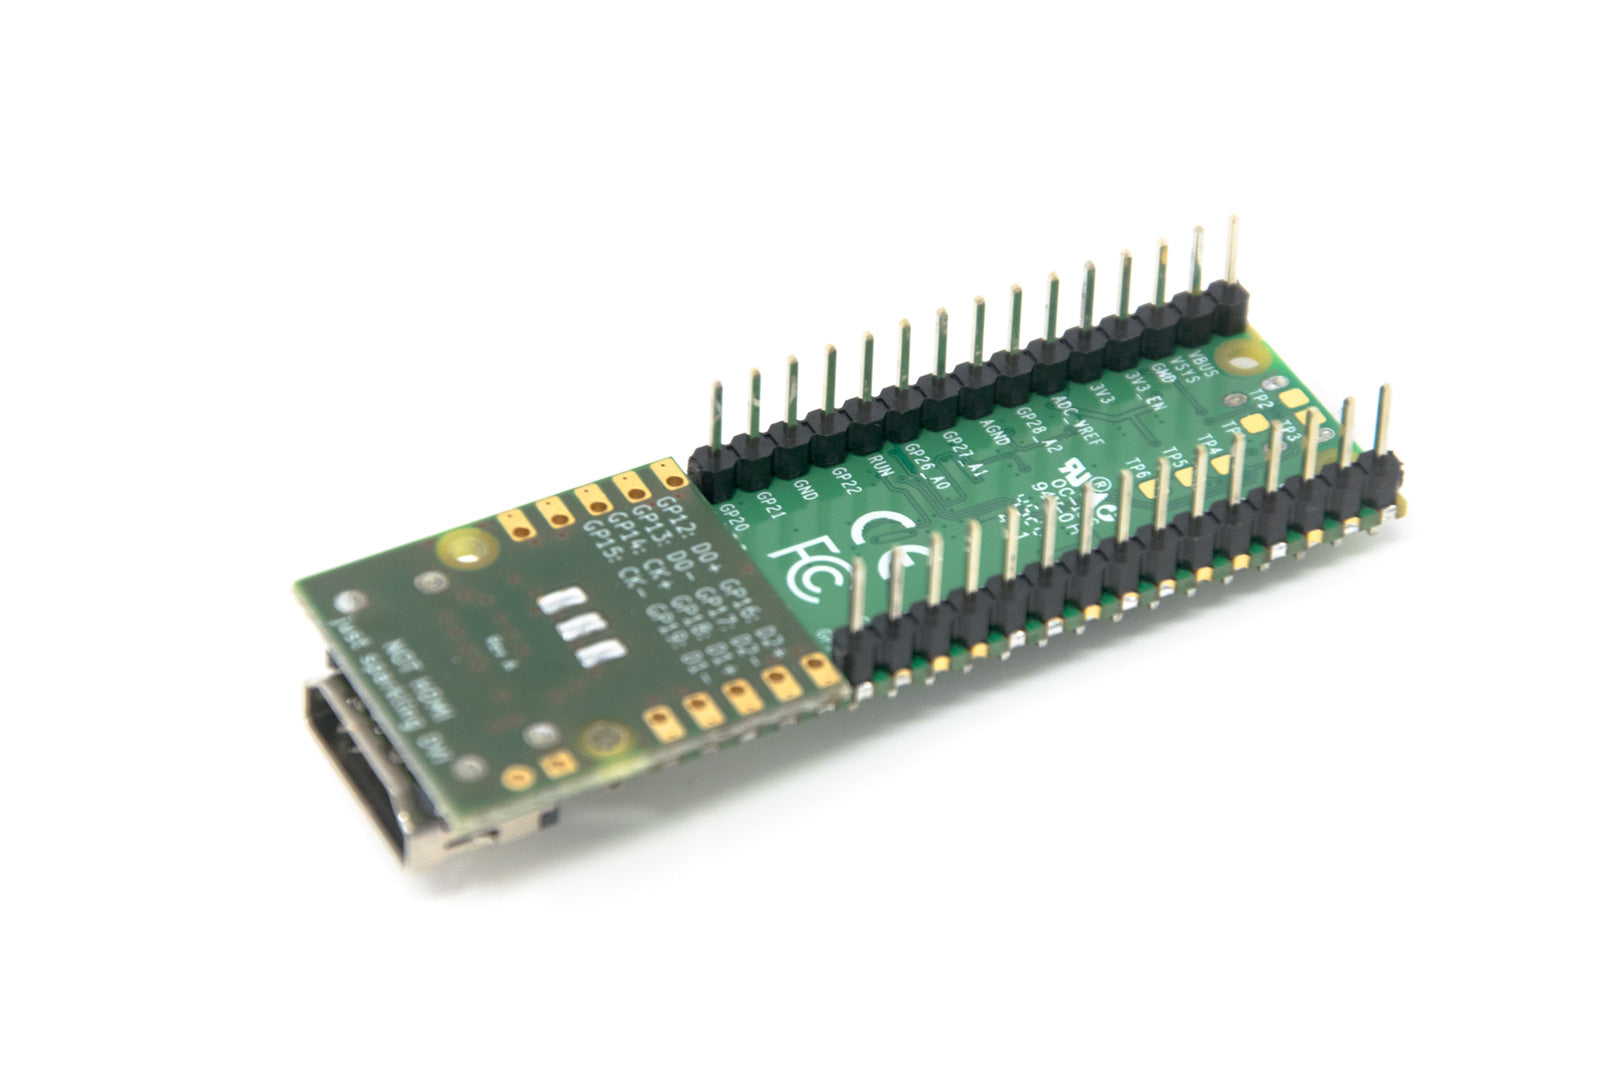
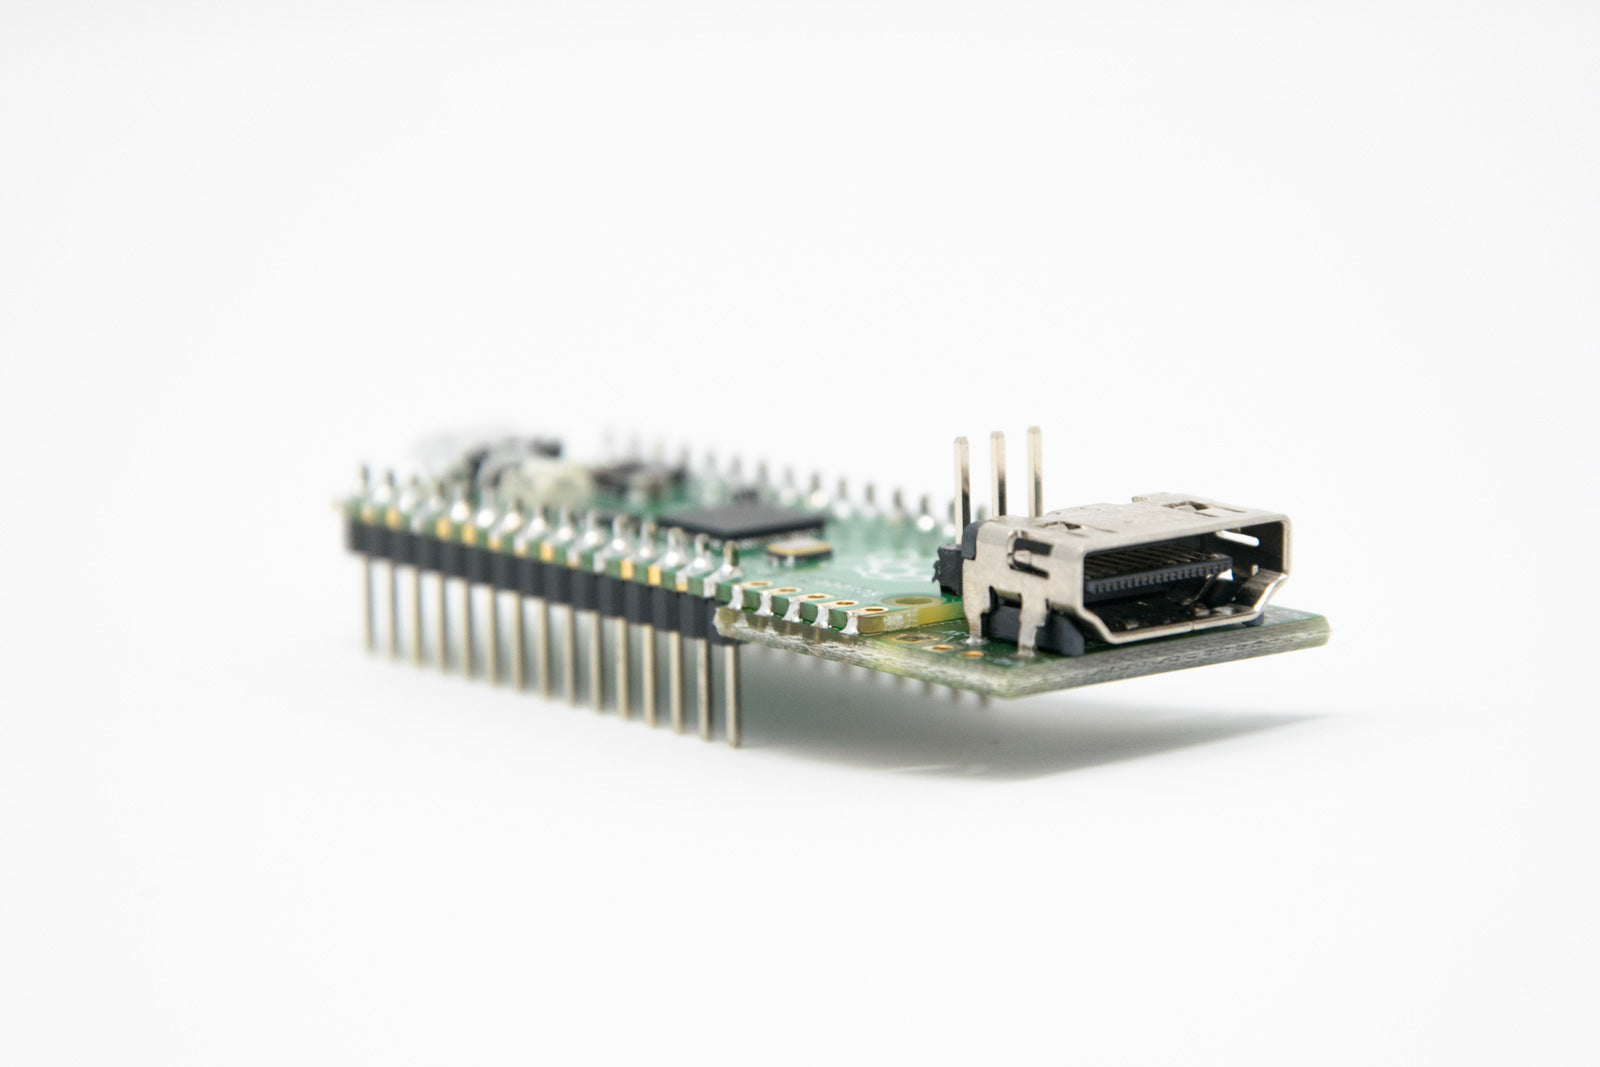
Pico DVI Sock mit Pico und Headern verlötet
Die Komfortvariante wird mit einem Raspberry Pi Pico - in dieser ist der Pico DVI Sock bereits angelötet, und die anderen Pins sind mit Headern bestückt. Auch der Debug-Header ist bereits eingelötet.
Mit dieser Komfortvariante gelingt Ihnen der Einstieg in die digitale Videoausgabe mit dem Raspberry Pi Pico ohne Löten zu müssen.
HDMI? nein, DVI
Die Videoschnittstelle ist ein HDMI Stecker, über den allerdings ein DVI Signal ausgegeben wird. Historisch gesehen ist HDMI ein Nachfolger von DVI - so dass über HDMI einfach DVI Signale übermittelt werden können. Um HDMI Kabel an einen DVI Anschluss anzuschließen gibt es daher einfache passive Adapter, bspw. unseren HDMI auf DVI Adapter.
Hinweis: Der Pico DVI Sock gibt kein Audiosignal aus.
Hinweis: Nicht an allen Monitoren erscheint in unseren Tests ein Bild.
Montage des DVI Sock:
Der DVI Sock kann an das Ende des Rpi Pico angelötet werden. Dank der kastellierten Ecken des Pico gelingt das Anlöten ganz einfach.
Wir verkaufen hier auch eine Variante mit Pico (der Pico hat auch bereits eingelötete Header) - damit können Sie sofort starten ohne Löten zu müssen!
Programmierung:
Im Gegensatz zu Raspberry Pi Boards (Einplatinencomputern) handelt es sich beim Pico um einen Microcontroller - dadurch muss Funktionalität programmiert werden.
In diesem Blogartikel über Videoausgabe auf dem Raspberry Pi Pico gibt unsere Schwesterseite PiCockpit eine ausführliche Einführung in das Thema, inklusive VGA (in Kürze auch bei uns als Produkt!) - auf Englisch.
TL;DR:
Hier können Sie ein ZIP Archiv herunterladen in dem wir einige Test-Programme bereits kompiliert haben. Diese können Sie als .UF2 Dateien auf die übliche Art und Weise auf den Pico installieren und sofort ausprobieren.
Die .UF2 Dateien befinden sich im Unterordner PicoDVI > software > build > apps > jeweilige App-Ordner
Die ZIP Datei enthält auch eine PDF Anleitung zum bauen der Samples & was angepasst werden muss damit die Videoausgabe funktioniert.
Projektideen
- Mini-Spielekonsole auf Basis des Raspberry Pi Pico
- Ausgabe von Messwerten als Videoanzeige
Weitere interessante Produkte
- NEU: wir haben ab sofort auch ein VGA & Audio + microSD Breakout Board für den Raspberry Pi Pico im Sortiment
Hardware-Design Service
Wir bieten Ihnen einen custom Hardware-Designservice an - auch für Designs auf Basis des Raspberry Pi RP2040 bzw. Raspberry Pi Pico. Kontaktieren Sie uns bei Interesse, für ein unverbindliches Erstgespräch.
English Description
The Raspberry Pi Pico, unlike other Raspberry Pi boards, does not have a built-in video output.
However, with programmable IO (PIO) and this Pico DVI Sock, it is possible to add a DVI video output to the Raspberry Pi Pico!
The Pico DVI Sock was developed by Luke Wren, a Raspberry Pi engineer in his spare time. He has shared the design online under a CC0 license for free reproduction—hence we have made it available for you.
Product Variants:
-
Pico DVI Sock
The basic version—this comes with just the Pico DVI Sock. (The image with the Pico is for illustration and size comparison.) -
Pico DVI Sock with Pico and Soldered Headers
The comfort version comes with a Raspberry Pi Pico—in this version, the Pico DVI Sock is already soldered on, and the other pins are equipped with headers. The debug header is also pre-soldered.
With this comfort version, you can get started with digital video output using the Raspberry Pi Pico without having to solder.
HDMI? No, DVI.
The video interface is an HDMI connector, through which a DVI signal is output. Historically, HDMI is a successor to DVI—hence DVI signals can easily be transmitted over HDMI. To connect HDMI cables to a DVI port, simple passive adapters are available, such as our HDMI to DVI adapter.
Note: The Pico DVI Sock does not output an audio signal.
Note: In our tests, a picture does not appear on all monitors.
Mounting the DVI Sock:
The DVI Sock can be soldered onto the end of the RPi Pico. Thanks to the castellated corners of the Pico, soldering is quite straightforward.
We also sell a version with the Pico (which also has soldered headers)—allowing you to start right away without soldering!
Programming:
Unlike Raspberry Pi boards (single-board computers), the Pico is a microcontroller—thus functionality must be programmed.
In this blog article about video output on the Raspberry Pi Pico, our sister site PiCockpit provides a detailed introduction to the topic, including VGA.
TL;DR:
You can download a ZIP archive here in which we have already compiled some test programs. These can be installed on the Pico as .UF2 files in the usual way and tried out immediately.
The .UF2 files are located in the subfolder PicoDVI > software > build > apps > respective app folder.
The ZIP file also includes a PDF manual for building the samples & what needs to be adjusted for the video output to work.
Project Ideas:
- Mini game console based on the Raspberry Pi Pico
- Output of measurement values as video display
Further Interesting Products: NEW: We now also have a VGA & Audio + microSD breakout board for the Raspberry Pi Pico in stock.
Hardware Design Service:
We offer a custom hardware design service—even for designs based on the Raspberry Pi RP2040 or Raspberry Pi Pico. Contact us if you're interested for a non-binding initial consultation.
Sicherheitsangaben
- Lesen Sie die Bedienungsanleitung sorgfältig durch, bevor Sie das Produkt verwenden.
- Stellen Sie sicher, dass alle Montage- und Installationsanweisungen des Herstellers sorgfältig befolgt werden.
- Verwenden Sie das Produkt nur für den vorgesehenen Zweck.
- Die unsachgemäße Nutzung dieses Produkts kann zu schweren Verletzungen oder Sachschäden führen.
- Nicht für Kinder unter 10 Jahren geeignet.
- Bei unsachgemäßer Verwendung besteht eine Verletzungsgefahr.
- Dieses Produkt entspricht den geltenden Sicherheitsanforderungen der Europäischen Union.
- Dieses Produkt wurde gemäß der GPSR geprüft, die sicherstellt, dass alle relevanten Sicherheitsanforderungen für Konsumgüter eingehalten werden.
Nachverfolgbarkeitsinformationen
Jedes Produkt verfügt über eines oder mehrere der folgenden Merkmale:
- Ein CE-Kennzeichen, das die Einhaltung der Sicherheits-, Gesundheits- und Umweltschutzanforderungen der Europäischen Union anzeigt.
- Eine eindeutige Serien- oder Chargennummer, um die Nachverfolgbarkeit zu gewährleisten und bei Bedarf Rückrufaktionen zu unterstützen.
- Hersteller- und Importeurangaben für den Kundensupport und Sicherheitsanfragen.
Überwachung und Berichterstattung von Vorfällen
Für den unwahrscheinlichen Fall eines Produktproblems haben wir Verfahren implementiert, um:
- Kundenbeschwerden zeitnah bearbeiten.
- Schwerwiegende Vorfälle über das EU Safety Gate/RAPEX-System melden.
- Mit den Marktüberwachungsbehörden zusammenarbeiten, um die öffentliche Sicherheit zu gewährleisten.
Kontakt:
- Email: support [@] pi3g.com
- Telefon: 0341 / 392 858 40
Dieses Produkt ist vollständig mit allen geltenden EU-Vorschriften konform, um die Sicherheit unserer geschätzten Kunden zu gewährleisten.

