Beschreibung
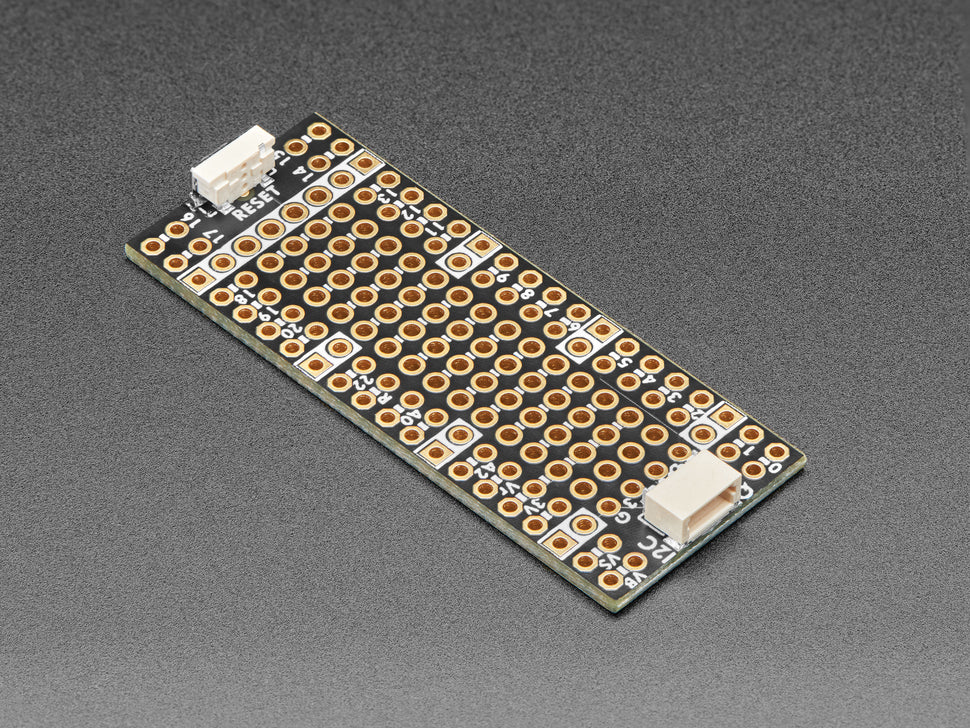
Ding dong! Hörst du das? Es ist die PiCowbell, die läutet und dich wissen lässt, dass die neue Adafruit PiCowbell Proto endlich auf Lager ist und bereit ist, dein Raspberry Pi Pico und Pico W Projekt mit praktischer Hardware und Prototypen zu unterstützen.
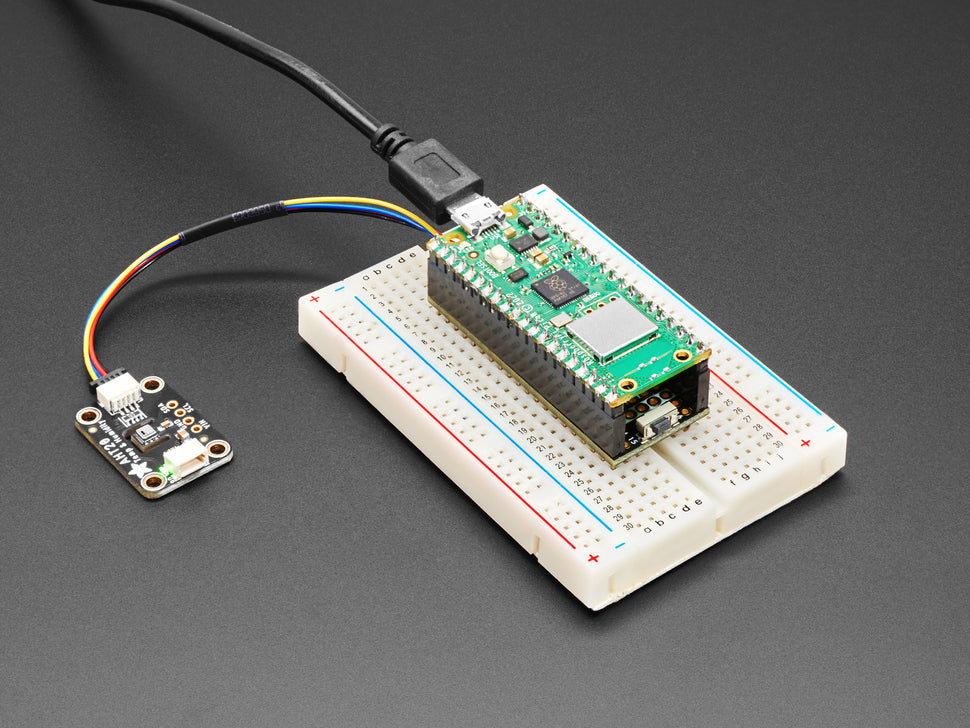
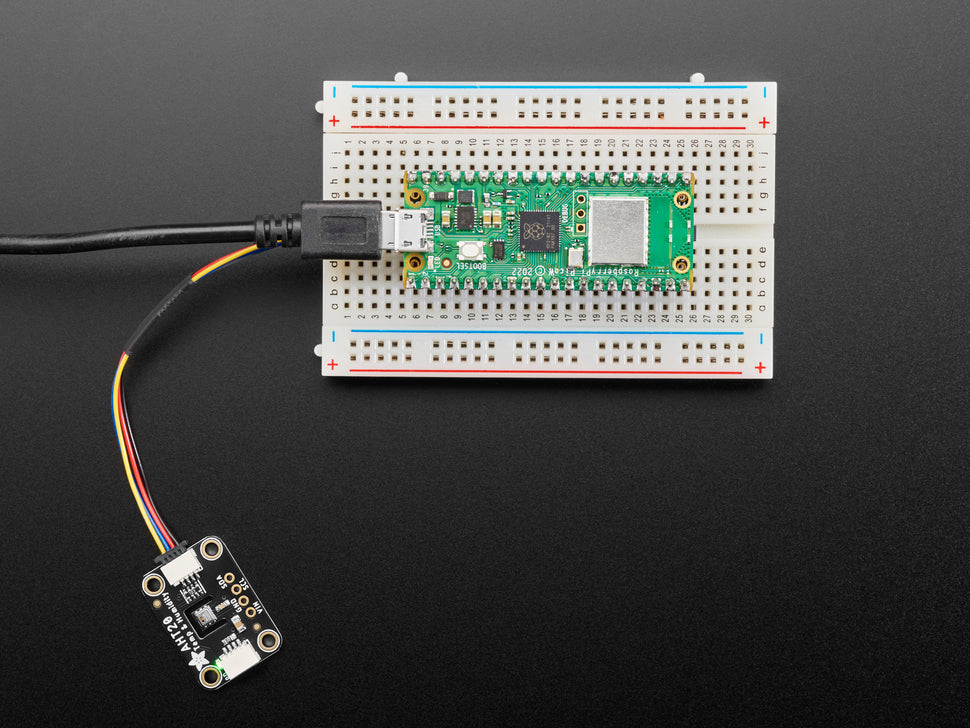
Die PiCowbell Proto hat die gleiche Größe und Form wie ein Pico und ist dafür gedacht, darunter gesteckt zu werden, um das Programmieren und die Anbindung von Sensoren zu erleichtern. Reset-Taste? Ja! STEMMA QT / Qwiic-Anschluss für schnelles I2C? Ja, in der Tat.
Bitte beachten Sie! Um die Dinge flexibel zu halten, wird diese PiCowbell nicht mit Headern geliefert: es gibt eine Menge möglicher Konfigurationen und wir haben verschiedene Header auf Lager, je nachdem, wie Sie löten und befestigen wollen. Vor allem, wenn du den Pico oben haben willst, so dass der BOOTSEL-Knopf und die LED zugänglich sind.
1. Verwenden Sie die Pico Stacking Headers, wenn Sie den Pico auf ein Breadboard oder anderes Zubehör mit Buchsen stecken wollen.
2. Verwenden Sie die Pico Socket Headers, wenn Sie direkt einstecken und eine solide Verbindung haben möchten, bei der nichts herausragt.
3. Verwenden Sie die kurzen Buchsenleisten für ein sehr schlankes, aber steckbares Design. Beachten Sie, dass Sie die Buchsenleisten des Pico abschneiden oder die kurzen Buchsenleisten auf dem Pico verwenden müssen, um ein schlankes Sandwich zu erhalten.
4. Löten Sie die Platine direkt an die Pico-Header - das ist natürlich sehr kompakt und preiswert, aber Sie werden die PiCowbell nicht mehr entfernen können.
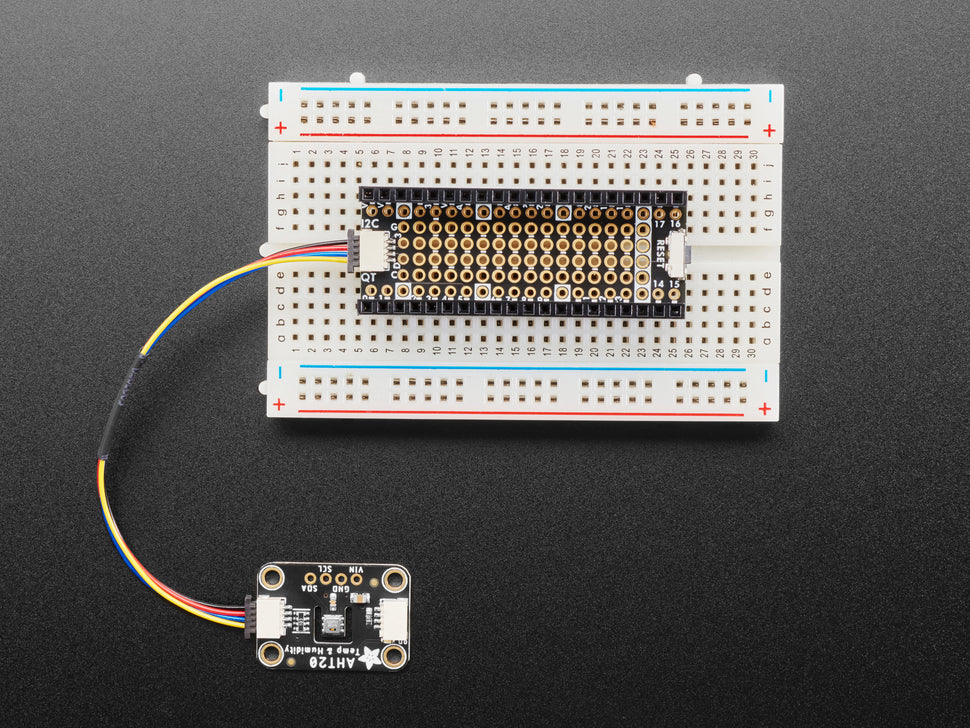
Die PiCowbell Proto bietet Ihnen:
- Rechtwinklige Reset-Taste, die am Ende herausragt
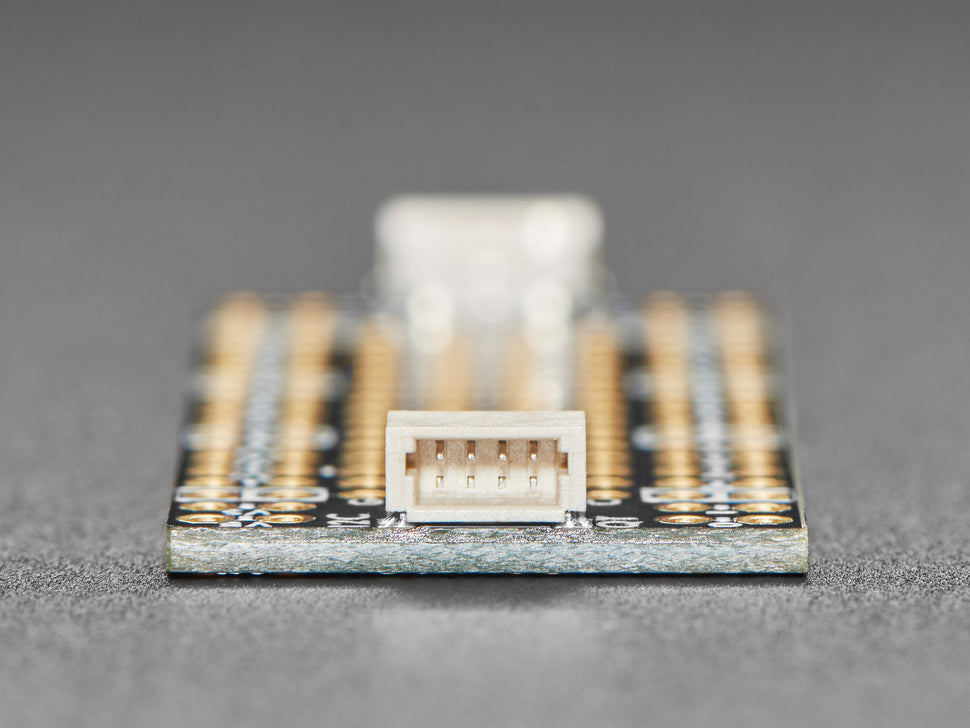
- Rechtwinkliger JST SH Stecker für I2C / Stemma QT / Qwiic Anschluss. Sie können ihn auch für eine einfache GPIO-Verkabelung verwenden, wenn Sie keine I2C-Geräte anschließen möchten. Bietet 3V, GND, IO4 (SDA) und IO5 (SCL)
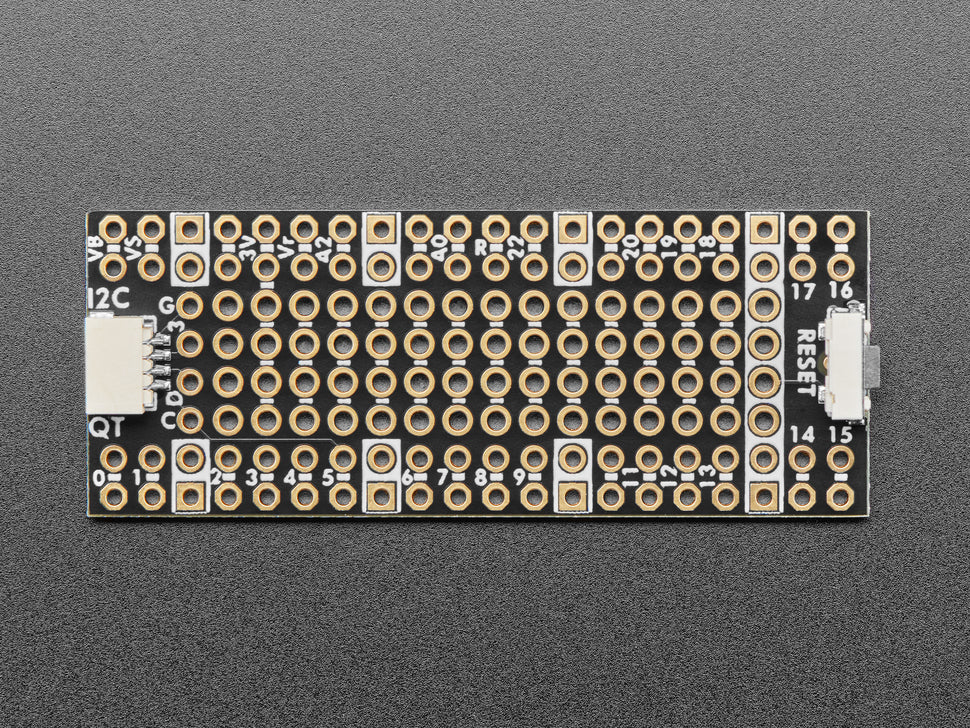
Zusätzlicher Satz von 4 Löchern neben dem JST SH für den Fall, dass Sie mehr I2C-Anschlüsse benötigen oder den I2C-Port neu zuweisen möchten.
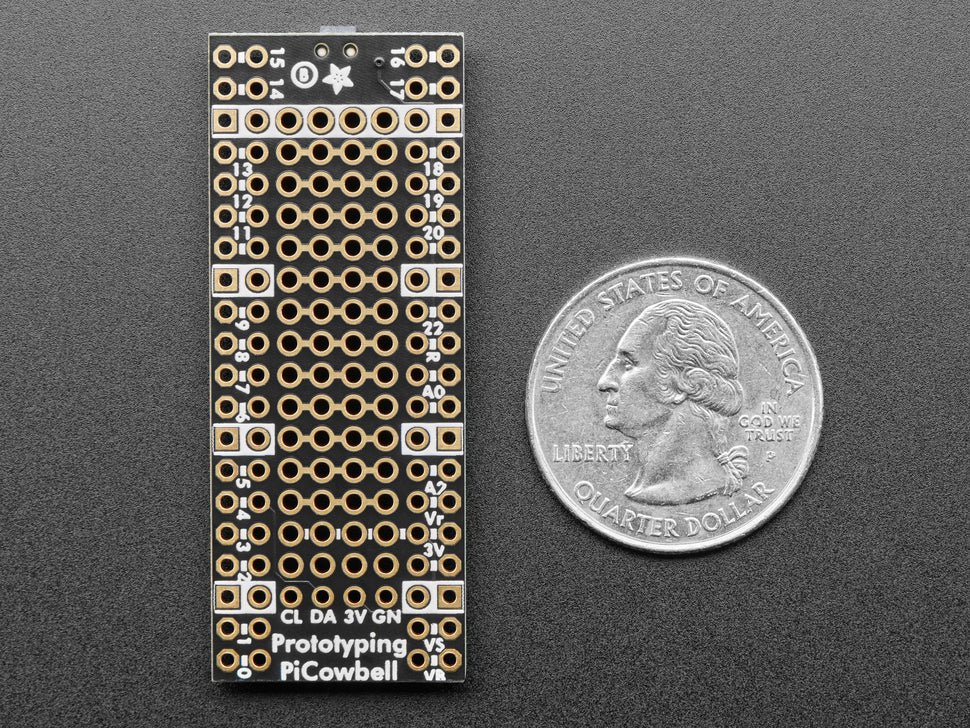
- 13 Reihen von 4-Loch-Verbindungsstreifen im mittleren Bereich. Sie können die Leiterbahnen zwischen den Löchern abschneiden, aber sie sind dafür gedacht, wie ein Mini-Breadboard behandelt zu werden.
- Jedes Pad auf dem Pico hat ein doppeltes Loch-Pad neben sich, um es zu überbrücken
- Die Massepads sind mit weißen Siebdruck-Rechtecken versehen, um sie leicht identifizieren zu können, sowie mit einem langen Massestreifen in der Nähe der Reset-Taste
- Ein langer Streifen mit verbundenen Löchern für die 3,3-V-Stromversorgung
- Vergoldete Pads für einfaches Löten
Beachten Sie, dass wir keine I2C-Pullups auf der Platine haben, aber Ihre Qwiic/QT-Breakout-Platine oder Ihr Zubehör hat sie wahrscheinlich schon auf der Platine. Wenn Sie den Philhower Arduino-Kern verwenden, ist das Wire-Peripheriegerät bereits für die Verwendung von IO4 und IO5 eingerichtet. Wenn Sie CircuitPython oder MicroPython verwenden, müssen Sie dem Code vorgeben, dass er die Pins 4+5 für SDA+SCL verwenden soll.
Description
Ding dong! Hear that? It's the PiCowbell ringing, letting you know that the new Adafruit PiCowbell Proto is finally in stock and ready to assist your Raspberry Pi Pico and Pico W project with handy hardware and practical prototyping.
The PiCowbell Proto is the same size and shape as a Pico, and is intended to socket underneath to make programming and sensor connectivity easy. Reset button? Yes! STEMMA QT / Qwiic connector for fast I2C? Indeed.
Please Note! To keep things flexible, this PiCowbell does not come with headers: there's a lot of possible configurations and we stock various headers depending on how you want to solder and attach. Especially if you want the Pico on top, so that the BOOTSEL button and LED are accessible.
1. Use the Pico Stacking Headers if you want to be able to plug into a breadboard or other accessory with sockets.
2. Use the Pico Socket Headers if you want to plug directly in and have a nice solid connection that doesn't have any poking-out-bits.
3. Use the Short Socket Headers for a very slim but pluggable design, note that you'll want to trim down the Pico's headers or use the short plug headers on the Pico to have a skinny sandwich.
4. Solder the PCB directly to the Pico headers - of course this is very compact and inexpensive but you won't be able to remove the PiCowbell.
The PiCowbell Proto provides you with:
- Right angle reset button that sticks out the end
- Right angle JST SH connector for I2C / Stemma QT / Qwiic connection. Or can use it for plain GPIO wiring if you don't have any I2C devices to attach. Provides 3V, GND, IO4 (SDA), and IO5 (SCL)
Extra set of 4 breakout holes next to the JST SH in case you want more I2C connection or want to re-assign the I2C port.
- 13 rows of 4-hole connected strips in the center area. You can cut the traces between the holes but they're intended to be treated like a mini-mini breadboard
- Every pad on the Pico has a duplicate hole pad next to it for solder-jumpering
- The ground pads have white silkscreen rectangles to easily identify, plus one long ground strip near the reset button
- One long strip of connected holes for 3.3V power
- Gold plated pads for easy soldering
Note that we do not have I2C pullups on the board, but your Qwiic/QT breakout board or accessory likely has them already on-board. If using the Philhower Arduino core, the Wire peripheral is already setup to use IO4 and IO5. If using CircuitPython or MicroPython you'll need to let the code know to look at 4+5 for SDA+SCL pins.
Sicherheitsangaben
- Lesen Sie die Bedienungsanleitung sorgfältig durch, bevor Sie das Produkt verwenden.
- Stellen Sie sicher, dass alle Montage- und Installationsanweisungen des Herstellers sorgfältig befolgt werden.
- Verwenden Sie das Produkt nur für den vorgesehenen Zweck.
- Die unsachgemäße Nutzung dieses Produkts kann zu schweren Verletzungen oder Sachschäden führen.
- Nicht für Kinder unter 10 Jahren geeignet.
- Bei unsachgemäßer Verwendung besteht eine Verletzungsgefahr.
- Dieses Produkt entspricht den geltenden Sicherheitsanforderungen der Europäischen Union.
- Dieses Produkt wurde gemäß der GPSR geprüft, die sicherstellt, dass alle relevanten Sicherheitsanforderungen für Konsumgüter eingehalten werden.
Nachverfolgbarkeitsinformationen
Jedes Produkt verfügt über eines oder mehrere der folgenden Merkmale:
- Ein CE-Kennzeichen, das die Einhaltung der Sicherheits-, Gesundheits- und Umweltschutzanforderungen der Europäischen Union anzeigt.
- Eine eindeutige Serien- oder Chargennummer, um die Nachverfolgbarkeit zu gewährleisten und bei Bedarf Rückrufaktionen zu unterstützen.
- Hersteller- und Importeurangaben für den Kundensupport und Sicherheitsanfragen.
Überwachung und Berichterstattung von Vorfällen
Für den unwahrscheinlichen Fall eines Produktproblems haben wir Verfahren implementiert, um:
- Kundenbeschwerden zeitnah bearbeiten.
- Schwerwiegende Vorfälle über das EU Safety Gate/RAPEX-System melden.
- Mit den Marktüberwachungsbehörden zusammenarbeiten, um die öffentliche Sicherheit zu gewährleisten.
Kontakt:
- Email: support [@] pi3g.com
- Telefon: 0341 / 392 858 40
Dieses Produkt ist vollständig mit allen geltenden EU-Vorschriften konform, um die Sicherheit unserer geschätzten Kunden zu gewährleisten.

