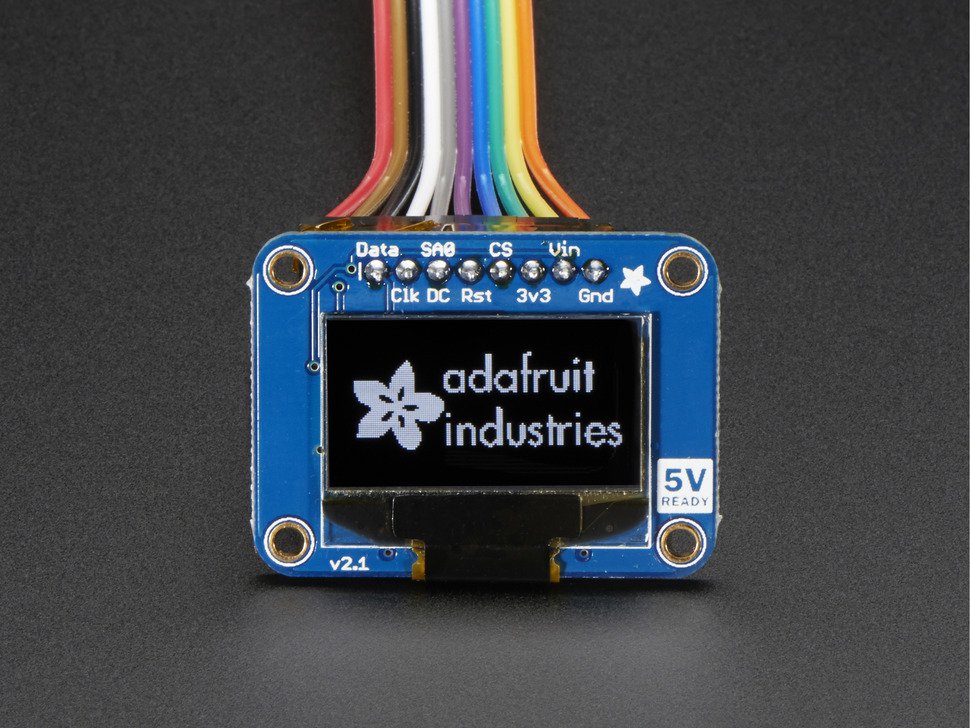
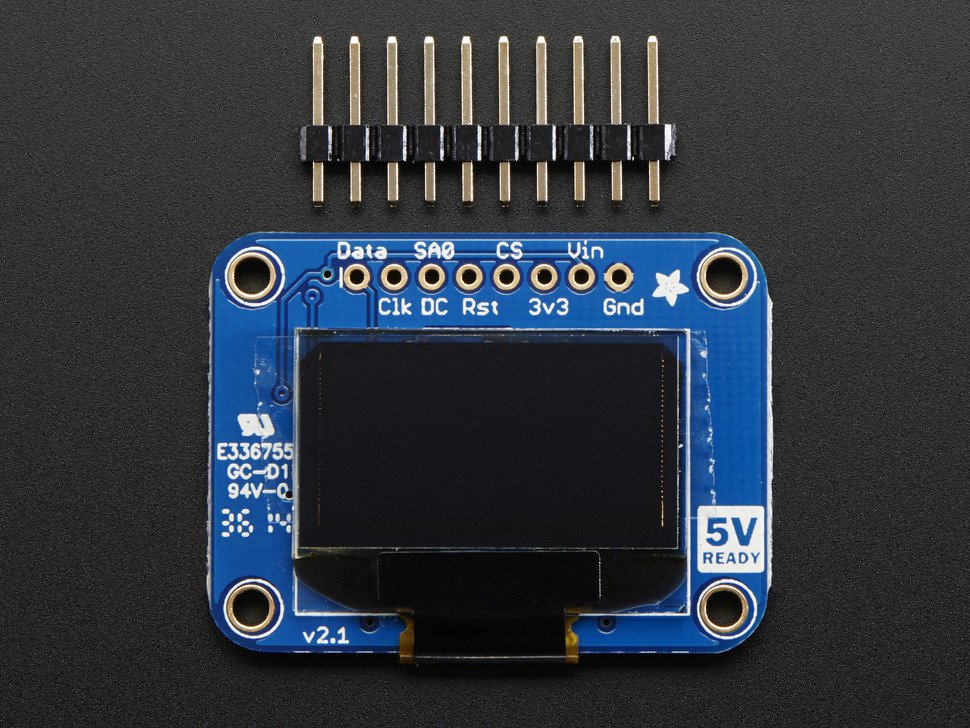
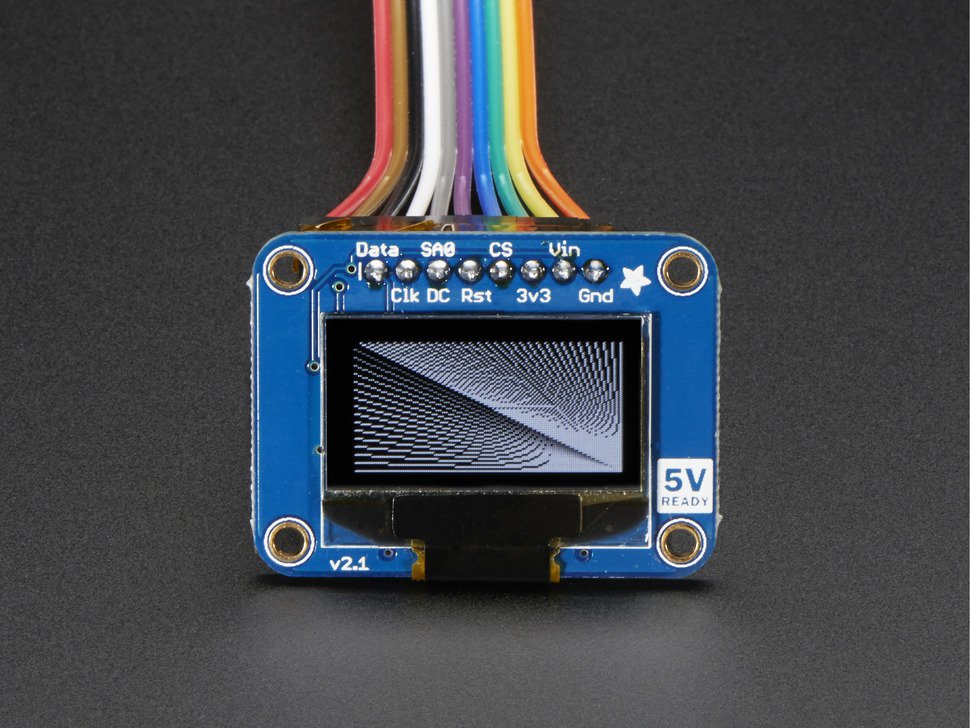
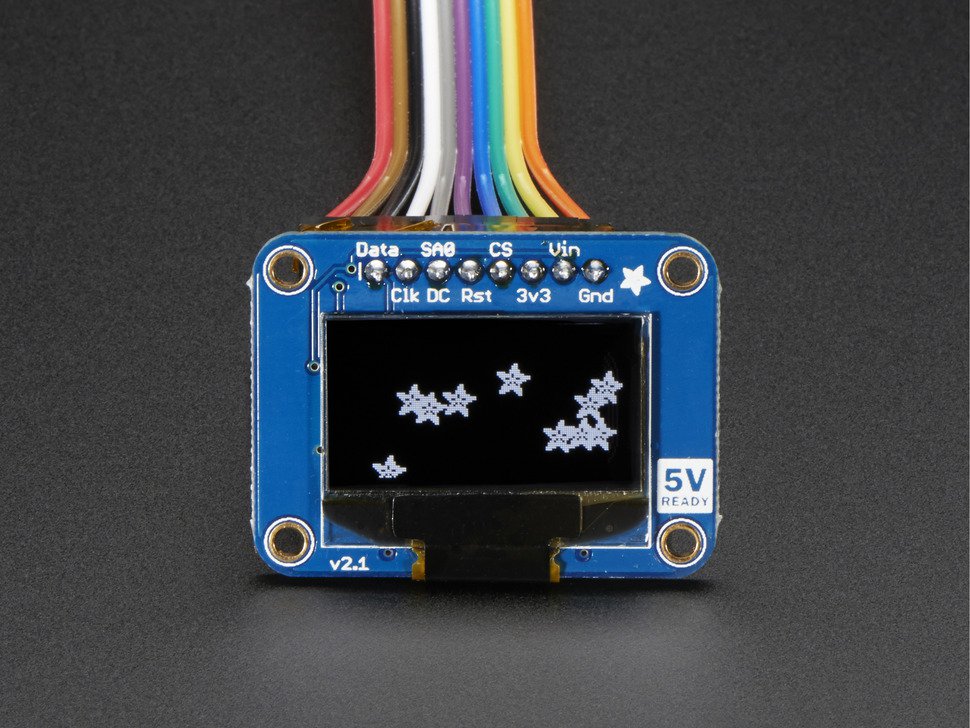
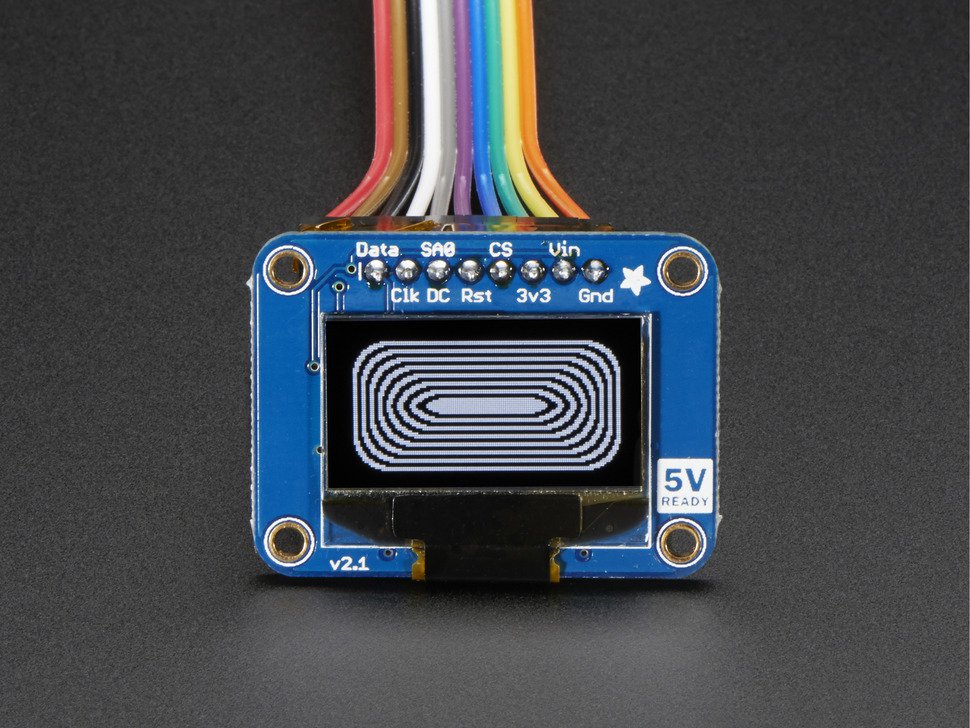
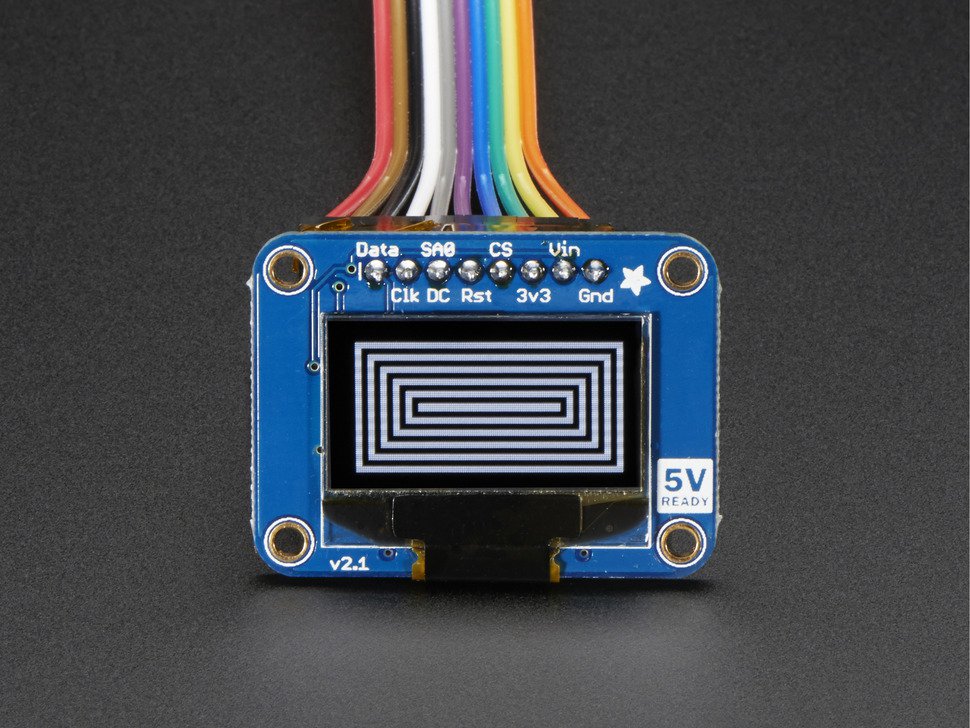
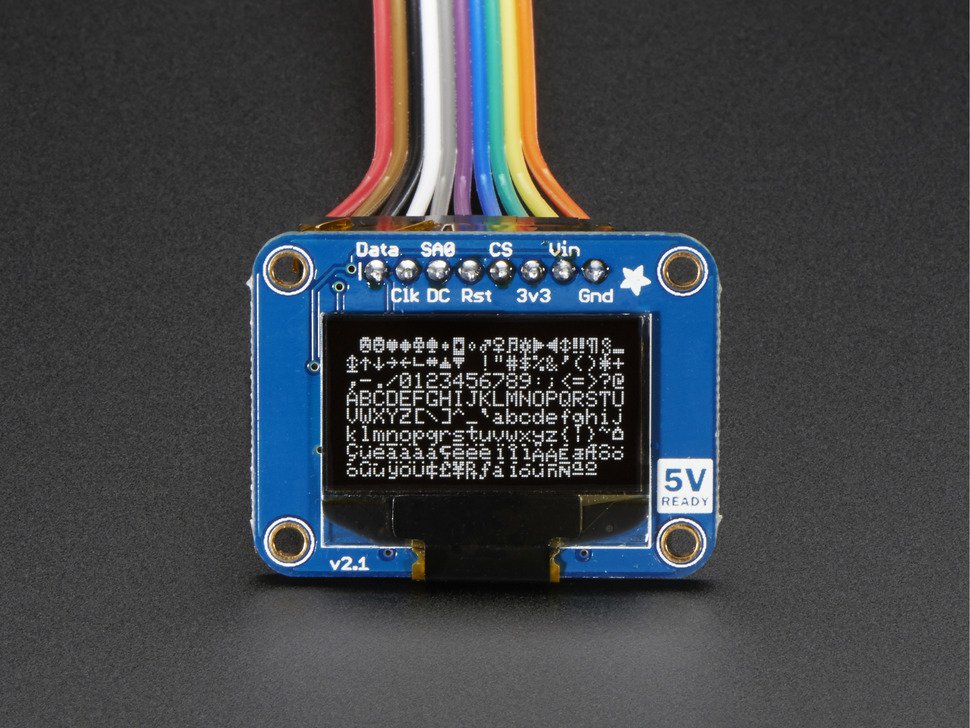
Diese Displays sind klein, nur etwa 1" in der Diagonale, aber aufgrund des hohen Kontrasts eines OLED-Displays sehr gut lesbar. Dieses Display besteht aus 128x64 einzelnen weißen OLED-Pixeln, von denen jedes einzelne durch den Controller-Chip ein- oder ausgeschaltet wird. Da das Display sein eigenes Licht erzeugt, ist keine Hintergrundbeleuchtung erforderlich. Dies reduziert den Strombedarf für den Betrieb der OLED und ist der Grund, warum das Display einen so hohen Kontrast hat; Adafruit mag dieses Miniaturdisplay wegen seiner Schärfe sehr!
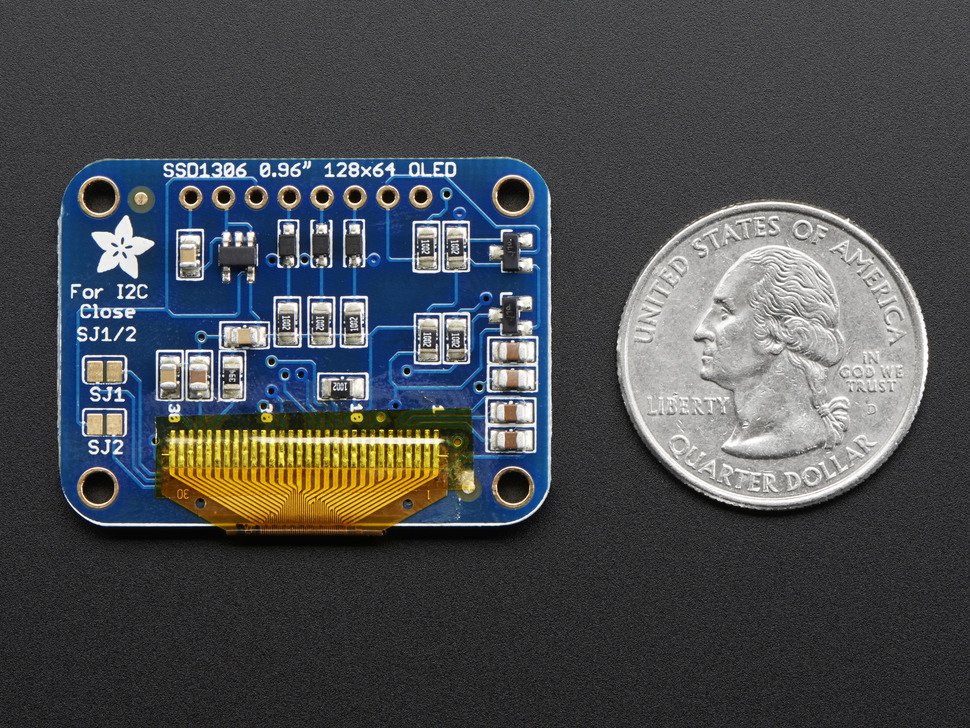
Dieses Breakout kann entweder mit einer SPI- oder einer I2C-Schnittstelle verwendet werden - auswählbar durch Umstecken zweier Jumper auf der Rückseite. Das Design ist komplett 5V-fähig, mit einem Onboard-Regler und eingebautem Boost-Konverter. Es ist einfacher als je zuvor, direkt an einen 3V- oder 5V-Mikrocontroller anzuschließen, ohne dass ein Pegelwandler erforderlich ist!
Adafruit hat das Design aktualisiert, um eine Auto-Reset-Schaltung hinzuzufügen, so dass der Reset-Pin optional ist. Da er I2C spricht, können Sie ihn einfach mit nur zwei Drähten anschließen (plus Strom und Masse!). Adafruit hat sogar SparkFun qwiic-kompatible STEMMA QT-Stecker für den I2C-Bus beigelegt, so dass Sie nicht einmal löten müssen, wenn Sie ein STEMMA QT-Kabel kaufen und anschließen! Das QT-Kabel ist nicht im Lieferumfang enthalten.
Adafruit hat eine detaillierte Anleitung und Beispielcode in Form einer Arduino-Bibliothek für Text und Grafik. Sie benötigen einen Mikrocontroller mit mehr als 1K RAM, da die Anzeige gepuffert werden muss. Die Bibliothek kann Text, Bitmaps, Pixel, Rechtecke, Kreise und Linien ausgeben. Sie benötigt 1K RAM, da sie die gesamte Anzeige puffern muss, aber sie ist sehr schnell! Der Code kann einfach an jeden anderen Mikrocontroller angepasst werden.
Bitte beachten Sie, dass OLED-Displays aus Hunderten von...OLEDs bestehen! Das bedeutet, dass jedes Pixel eine kleine organische LED ist, die bei einer Betriebsdauer von über 1000 Stunden anfängt zu dimmen. Wenn Sie das Display gleichmäßig hell halten wollen, schalten Sie es bitte aus (schalten Sie die Pixel aus), wenn es nicht benötigt wird, um ein Dimmen zu verhindern.
TECHNISCHE EINZELHEITEN
Revisionsgeschichte:
Mit Stand vom 3. August 2020 hat Adafruit diese Platine überarbeitet, um sie etwas kleiner zu machen, eine Auto-Reset-Schaltung hinzugefügt, so dass der RESET-Pin nicht benötigt wird, I2C zur Standardkonfiguration gemacht und 2 STEMMA QT-Anschlüsse für eine einfache Plug-and-Play-Nutzung hinzugefügt.
- Abmessungen: PCB: 29,2mm x 26,7mm (1,1" x 1")
- Bildschirm: 26,6 mm x 19 mm
- Dicke: 6,2 mm
- Gewicht: 4,5g
- Abstand zwischen den Befestigungslöchern: 24mm
Die Stromaufnahme des Displays hängt vollständig von der Nutzung ab: Jede OLED-LED verbraucht Strom, wenn sie eingeschaltet ist, d. h. je mehr Pixel leuchten, desto mehr Strom wird verbraucht. In der Praxis liegt die Stromaufnahme bei ca. 20 mA, aber für genaue Zahlen müssen Sie den Strom in Ihrem Schaltkreis messen.
Diese Platine/Chip verwendet eine I2C 7-Bit Adresse zwischen 0x3C-0x3D, wählbar mit Jumper
English description
These displays are small, only about 1" diagonal, but very readable due to the high contrast of an OLED display. This display is made of 128x64 individual white OLED pixels, each one is turned on or off by the controller chip. Because the display makes its own light, no backlight is required. This reduces the power required to run the OLED and is why the display has such high contrast; we really like this miniature display for its crispness!
This breakout can be used with either an SPI or I2C interface - selectable by cutting two jumpers on the back. The design is completely 5V-ready, with an onboard regulator and built-in boost converter. It's easier than ever to connect directly to your 3V or 5V microcontroller without needing any kind of level shifter!
We've updated the design to add auto-reset circuitry so that the reset pin is optional, since it speaks I2C you can easily connect it up with just two wires (plus power and ground!). Adafruit have even included SparkFun qwiic compatible STEMMA QT connectors for the I2C bus so you don't even need to solder when you purchase and attach a STEMMA QT cable! QT Cable is not included.
We have a detailed tutorial and example code in the form of an Arduino library for text and graphics. You'll need a microcontroller with more than 1K of RAM since the display must be buffered. The library can print text, bitmaps, pixels, rectangles, circles, and lines. It uses 1K of RAM since it needs to buffer the entire display but it's very fast! The code is simple to adapt to any other microcontroller.
Please note that OLED displays are made of hundreds of...OLEDs! That means each pixel is a little organic LED, and if it's kept on for over 1000 hours it'll start to dim. If you want to keep the display uniformly bright, please turn off the display (set the pixels off) when it isn't needed to keep them from dimming.
TECHNICAL DETAILS
Revision History:
As of August 3, 2020 we have revised this PCB to be a little smaller, added auto-reset circuitry so the RESET pin is not required, made I2C the default configuration, and added 2 STEMMA QT connectors for easy plug-and-play usage.
- Dimensions: PCB: 29.2mm x 26.7mm (1.1" x 1")
- Screen: 26.6mm x 19mm
- Thickness: 6.2mm
- Weight: 4.5g
- Distance between mounting holes: 24mm
Display current draw is completely dependent on your usage: each OLED LED draws current when on so the more pixels you have lit, the more current is used. They tend to draw ~20mA or so in practice but for precise numbers you must measure the current in your usage circuit.
This board/chip uses I2C 7-bit address between 0x3C-0x3D, selectable with jumpers
Sicherheitsangaben
- Lesen Sie die Bedienungsanleitung sorgfältig durch, bevor Sie das Produkt verwenden.
- Stellen Sie sicher, dass alle Montage- und Installationsanweisungen des Herstellers sorgfältig befolgt werden.
- Verwenden Sie das Produkt nur für den vorgesehenen Zweck.
- Die unsachgemäße Nutzung dieses Produkts kann zu schweren Verletzungen oder Sachschäden führen.
- Nicht für Kinder unter 10 Jahren geeignet.
- Bei unsachgemäßer Verwendung besteht eine Verletzungsgefahr.
- Dieses Produkt entspricht den geltenden Sicherheitsanforderungen der Europäischen Union.
- Dieses Produkt wurde gemäß der GPSR geprüft, die sicherstellt, dass alle relevanten Sicherheitsanforderungen für Konsumgüter eingehalten werden.
Nachverfolgbarkeitsinformationen
Jedes Produkt verfügt über eines oder mehrere der folgenden Merkmale:
- Ein CE-Kennzeichen, das die Einhaltung der Sicherheits-, Gesundheits- und Umweltschutzanforderungen der Europäischen Union anzeigt.
- Eine eindeutige Serien- oder Chargennummer, um die Nachverfolgbarkeit zu gewährleisten und bei Bedarf Rückrufaktionen zu unterstützen.
- Hersteller- und Importeurangaben für den Kundensupport und Sicherheitsanfragen.
Überwachung und Berichterstattung von Vorfällen
Für den unwahrscheinlichen Fall eines Produktproblems haben wir Verfahren implementiert, um:
- Kundenbeschwerden zeitnah bearbeiten.
- Schwerwiegende Vorfälle über das EU Safety Gate/RAPEX-System melden.
- Mit den Marktüberwachungsbehörden zusammenarbeiten, um die öffentliche Sicherheit zu gewährleisten.
Kontakt:
- Email: support [@] pi3g.com
- Telefon: 0341 / 392 858 40
Dieses Produkt ist vollständig mit allen geltenden EU-Vorschriften konform, um die Sicherheit unserer geschätzten Kunden zu gewährleisten.

