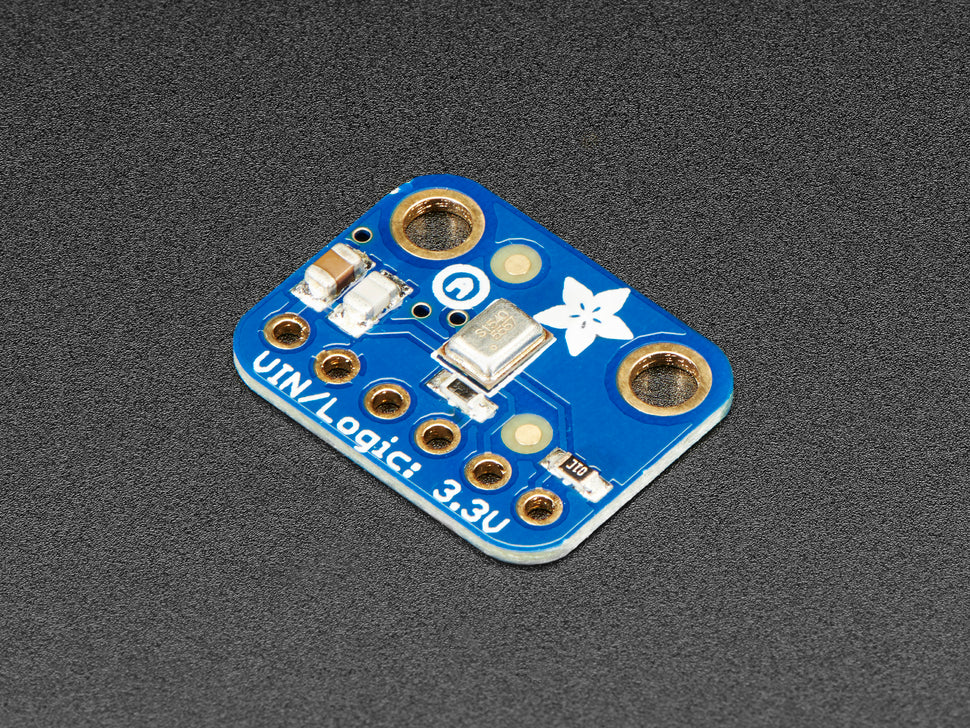
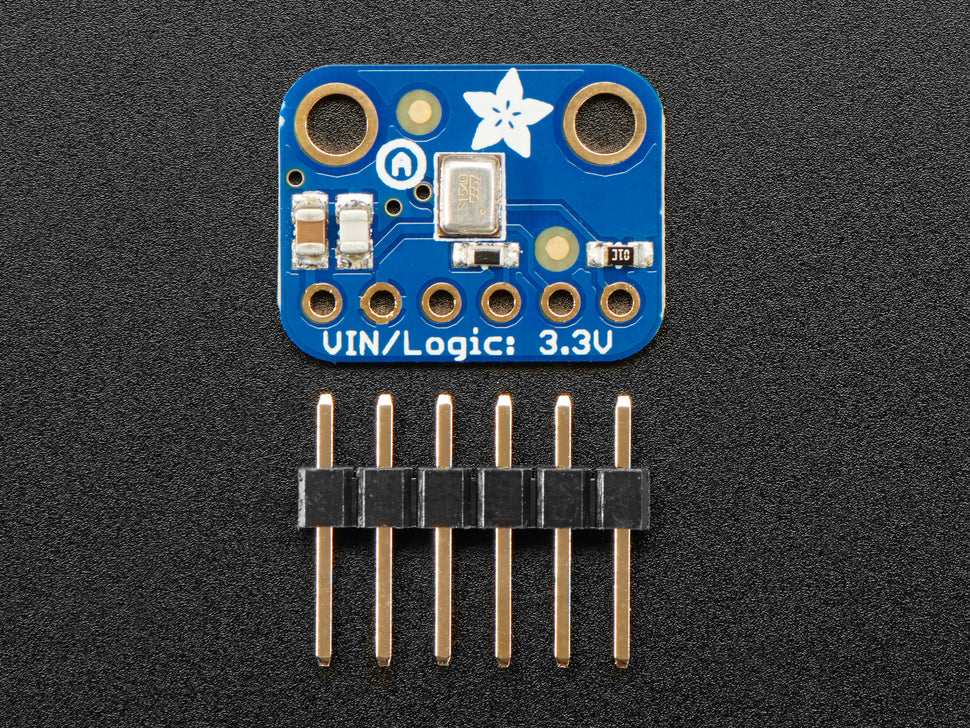
Hören Sie sich diese guten Nachrichten an - Adafruit jetzt ein Breakout-Board für ein superwinziges I2S-MEMS-Mikrofon. Genau wie "klassische" Elektretmikrofone können MEMS-Mikrofone Schall erkennen und ihn in Spannung umwandeln, aber sie sind viel kleiner und dünner. Dieses Mikrofon hat nicht einmal einen analogen Ausgang, es ist rein digital. Das I2S ist ein kleines, kostengünstiges MEMS-Mikrofon mit einem Bereich von etwa 50 Hz bis 15 kHz, das sich für fast alle allgemeinen Audioaufnahmen und -erfassungen eignet.
Für viele Mikrocontroller ist das Hinzufügen eines Audioeingangs mit einem von Adafruits analogen Mikrofon-Breakouts einfach. Aber wenn Sie zu größeren und besseren Mikrocontrollern und Mikrocomputern kommen, werden Sie feststellen, dass Sie nicht immer einen analogen Eingang haben, oder dass Sie vielleicht das Rauschen vermeiden wollen, das bei einem analogen Mikrofonsystem eindringen kann. Sobald man über 8-Bit-Mikrocontroller hinausgeht, findet man oft eine I2S-Peripherie, die digitale Audiodaten aufnehmen kann! Hier kommt dieses I2S Microphone Breakout ins Spiel.
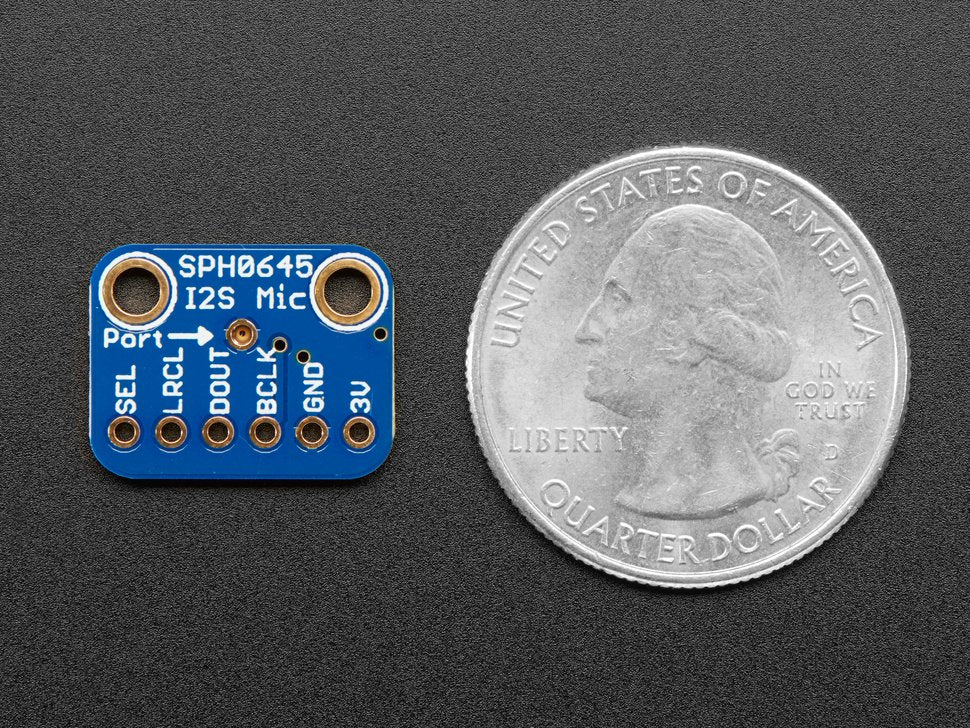
Anstelle eines analogen Ausgangs gibt es drei digitale Pins: Clock, Data und Left-Right (Word Select) Clock. Bei Anschluss an Ihren Mikrocontroller/Computer treibt der 'I2S Controller' die Clock- und Word-Select-Pins mit einer hohen Frequenz an und liest die Daten aus dem Mikrofon aus. Keine Analogwandlung erforderlich!
Das Mikrofon ist ein einzelnes Monoelement. Sie können wählen, ob es auf dem linken oder rechten Kanal sein soll, indem Sie den Select-Pin mit Strom oder Masse verbinden. Wenn Sie Stereo benötigen, nehmen Sie zwei Mikrofone! Sie können sie so einrichten, dass sie Stereo sind, indem sie sich die Takt-, WS- und Datenleitungen teilen, aber eines mit Select auf Masse und eines mit Select auf Hochspannung legen.
Dieses I2S-MEMS-Mikrofon hat einen Anschluss an der Unterseite. Achten Sie also darauf, dass das Loch an der Unterseite in Richtung der Geräusche zeigt, die Sie ablesen möchten. Es ist ein Gerät mit einer maximalen Spannung von 1,6-3,6V, also nicht für die Verwendung mit 5V-Logik geeignet (es ist wirklich unwahrscheinlich, dass man ein Gerät mit 5V-Logik mit I2S verwenden kann). Viele Einsteiger-Mikrocontroller-Boards haben kein I2S, also vergewissern Sie sich, dass es eine unterstützte Schnittstelle ist, bevor Sie versuchen, es zu verkabeln! Dieses Mikrofon wird am besten mit Chips der Cortex M-Serie wie dem Arduino Zero, Feather M0 oder Einplatinencomputern wie dem Raspberry Pi verwendet.
Code, Bibliotheken, Verdrahtungsbeispiele, CAD-Dateien, Fritzing und mehr finden Sie in der Anleitung!
Technische Details
Produkt-Abmessungen: 16.7mm x 12.7mm x 1.8mm / 0.7" x 0.5" x 0.1"
Produktgewicht: 0.4g / 0.0oz
English Description
Listen to this good news - Adafruit now has a breakout board for a super tiny I2S MEMS microphone. Just like 'classic' electret microphones, MEMS mics can detect sound and convert it to voltage, but they're way smaller and thinner. This microphone doesn't even have analog out, it's purely digital. The I2S is a small, low-cost MEMS mic with a range of about 50Hz - 15KHz, good for just about all general audio recording/detection.
For many microcontrollers, adding audio input is easy with one of Adafruit's analog microphone breakouts. But as you get to bigger and better microcontrollers and microcomputers, you'll find that you don't always have an analog input, or maybe you want to avoid the noise that can seep in with an analog mic system. Once you get past 8-bit micros, you will often find an I2S peripheral, that can take digital audio data in! That's where this I2S Microphone Breakout comes in.
Instead of an analog output, there are three digital pins: Clock, Data, and Left-Right (Word Select) Clock. When connected to your microcontroller/computer, the 'I2S Controller' will drive the clock and word-select pins at a high frequency and read out the data from the microphone. No analog conversion required!
The microphone is a single mono element. You can select whether you want it to be on the Left or Right channel by connecting the Select pin to power or ground. If you need stereo, pick up two microphones! You can set them up to be stereo by sharing the Clock, WS, and Data lines but having one with Select to ground, and one with Select to high voltage.
This I2S MEMS microphone is bottom ported, so make sure you have the hole in the bottom facing out towards the sounds you want to read. It's a 1.6-3.6V max device only, so not for use with 5V logic (it's really unlikely you'd have a 5V-logic device with I2S anyways). Many beginner microcontroller boards don't have I2S, so make sure it's a supported interface before you try to wire it up! This microphone is best used with Cortex M-series chips like the Arduino Zero, Feather M0, or single-board computers like the Raspberry Pi.
For code, libraries, wiring examples, CAD files, Fritzing, and more, check out the guide!
Technical Details
For code, libraries, wiring examples, CAD files, Fritzing and more, check out the guide!
Product Dimensions: 16.7mm x 12.7mm x 1.8mm / 0.7" x 0.5" x 0.1"
Product Weight: 0.4g / 0.0oz
Sicherheitsangaben
- Lesen Sie die Bedienungsanleitung sorgfältig durch, bevor Sie das Produkt verwenden.
- Stellen Sie sicher, dass alle Montage- und Installationsanweisungen des Herstellers sorgfältig befolgt werden.
- Verwenden Sie das Produkt nur für den vorgesehenen Zweck.
- Die unsachgemäße Nutzung dieses Produkts kann zu schweren Verletzungen oder Sachschäden führen.
- Nicht für Kinder unter 10 Jahren geeignet.
- Bei unsachgemäßer Verwendung besteht eine Verletzungsgefahr.
- Dieses Produkt entspricht den geltenden Sicherheitsanforderungen der Europäischen Union.
- Dieses Produkt wurde gemäß der GPSR geprüft, die sicherstellt, dass alle relevanten Sicherheitsanforderungen für Konsumgüter eingehalten werden.
Nachverfolgbarkeitsinformationen
Jedes Produkt verfügt über eines oder mehrere der folgenden Merkmale:
- Ein CE-Kennzeichen, das die Einhaltung der Sicherheits-, Gesundheits- und Umweltschutzanforderungen der Europäischen Union anzeigt.
- Eine eindeutige Serien- oder Chargennummer, um die Nachverfolgbarkeit zu gewährleisten und bei Bedarf Rückrufaktionen zu unterstützen.
- Hersteller- und Importeurangaben für den Kundensupport und Sicherheitsanfragen.
Überwachung und Berichterstattung von Vorfällen
Für den unwahrscheinlichen Fall eines Produktproblems haben wir Verfahren implementiert, um:
- Kundenbeschwerden zeitnah bearbeiten.
- Schwerwiegende Vorfälle über das EU Safety Gate/RAPEX-System melden.
- Mit den Marktüberwachungsbehörden zusammenarbeiten, um die öffentliche Sicherheit zu gewährleisten.
Kontakt:
- Email: support [@] pi3g.com
- Telefon: 0341 / 392 858 40
Dieses Produkt ist vollständig mit allen geltenden EU-Vorschriften konform, um die Sicherheit unserer geschätzten Kunden zu gewährleisten.


