Ein Produkt von Pimoroni.
Hinweis: wir führen ein ähnliches Pi 4 Gehäuse Modell von The Pi Hut, mit zwei aktiven Lüftern und Kühlrippen - ein Vergleich lohnt sich :-)
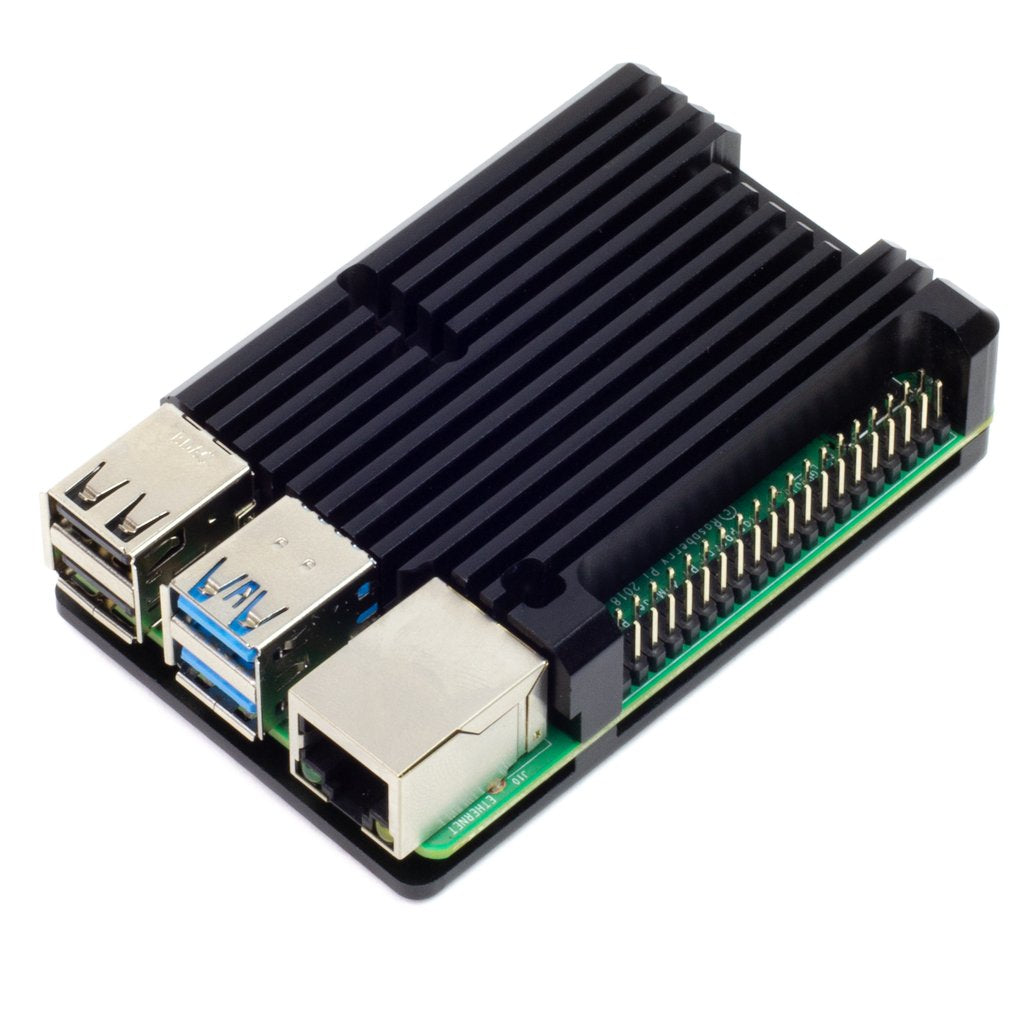
Warum einen Kühlkörper und ein Gehäuse verwenden, wenn man ein Gehäuse mit Kühlkörper verwenden kann?! Dieses elegante Gehäuse aus eloxiertem Aluminium für den Raspberry Pi 4 bietet Ihnen eine passive Kühlung von 10-15°C bei voller CPU-Last. Ziemlich cool.
Dieses Kühlkörpergehäuse aus eloxiertem Aluminium schützt Ihren Raspberry Pi 4 und bietet die beste passive Kühlung, die wir in unseren umfangreichen Tests gesehen haben. Es eignet sich hervorragend für Situationen, in denen Sie eine völlig geräuschlose Kühlung wünschen, wie z. B. in Heim-Medienzentren.
Das Gehäuse wird mit einem Wärmeleitpad geliefert, das den thermischen Kontakt zwischen CPU und Gehäuseoberteil herstellt, sowie einem praktischen Inbusschlüssel und einem Satz Sechskantschrauben zur Befestigung des Gehäuses.
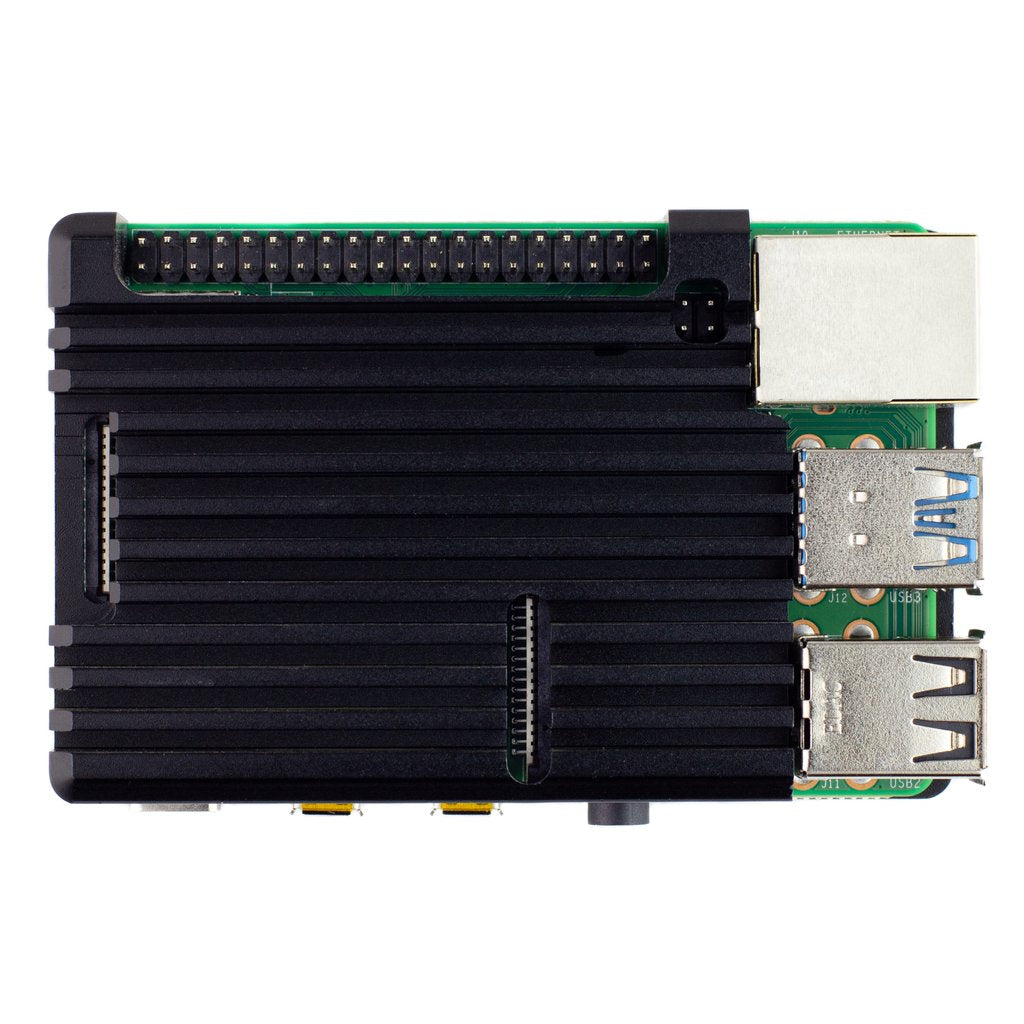
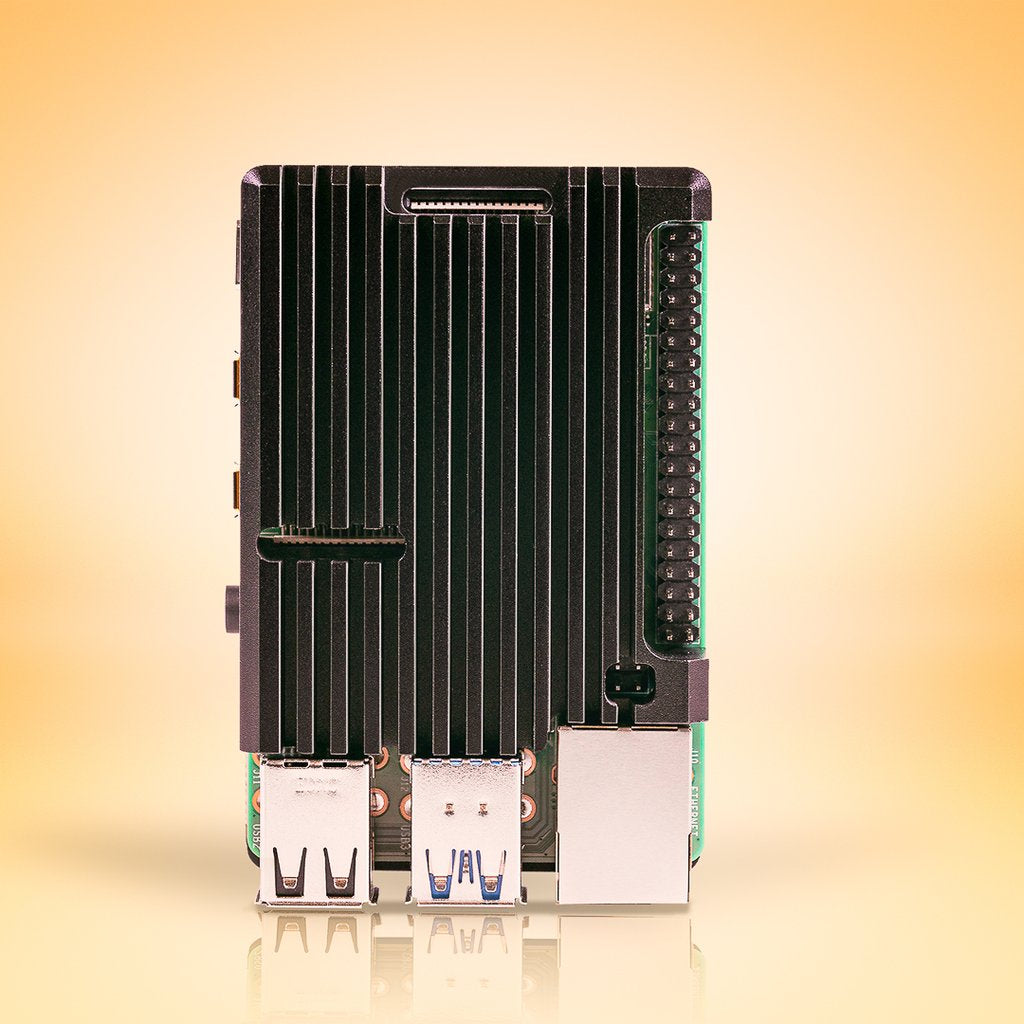
Das Gehäuse gibt Ihnen Zugang zu allen Anschlüssen, Stiften und Verbindungen. Die Verwendung von Low-Profile-HATs und pHATs (ohne sperrige Komponenten auf der Unterseite) ist problemlos möglich, wenn Sie einen unserer Booster-Header verwenden. Seien Sie jedoch äußerst vorsichtig, dass Sie keine Komponenten auf dem Metallgehäuse kurzschließen!
Merkmale
-
Gehäuseober- und -unterteil aus eloxiertem Aluminium
Kühlkörper-Lamellen
Wärmeleitpads
Inklusive Sechskantschrauben und Inbusschlüssel
Zugang zu allen Ports, Pins und Anschlüssen
Kompatibel mit Raspberry Pi 4 -
Kühlkörper-Lamellen
-
Wärmeleitpads
-
Inklusive Sechskantschrauben und Inbusschlüssel
-
Zugang zu allen Ports, Pins und Anschlüssen
-
Kompatibel mit Raspberry Pi 4
Zusammenbau
Klicken Sie hier, um unsere Anleitung für den Zusammenbau des Gehäuses zu sehen, oder folgen Sie den kurzen Anweisungen unten.
Der Zusammenbau Ihres Kühlkörpergehäuses ist ziemlich einfach und sollte nur ein paar Minuten dauern. Das erste und wichtigste ist, dass Sie sicherstellen, dass Ihr Pi ausgeschaltet und vom Stromnetz getrennt ist, bevor Sie das Gehäuse montieren.
Nehmen Sie eines der Wärmeleitpads und ziehen Sie die Schutzfolien von beiden Seiten ab (es gibt eine weiße Folie und eine leicht zu übersehende klare Folie auf der anderen Seite). Kleben Sie das Wärmeleitpad auf die CPU Ihres Pi (das Metallquadrat in der Mitte der Platine).
Wenn Sie das Wärmeleitpad zuerst auf die CPU kleben, ist es viel besser zu positionieren, als wenn Sie versuchen, es auf das Gehäuse zu kleben. Verwenden Sie nur ein Wärmeleitpad für den Raspberry Pi 4.
Positionieren Sie das obere Gehäuse, halten Sie es fest, drehen Sie das Ganze um und positionieren Sie das untere Gehäuse auf der Unterseite des Pi. Verwenden Sie die vier Sechskantschrauben und den Inbusschlüssel, um das Gehäuse zu befestigen.
Hinweise
-
Das Gehäuse ist aus Metall und daher leitfähig. Achten Sie also darauf, dass Sie keine Komponenten kurzschließen, und stellen Sie sicher, dass Ihr Pi ausgeschaltet und vom Stromnetz getrennt ist, wenn Sie das Gehäuse anbringen.
-
Es mag offensichtlich sein, aber das Gehäuse wird im Gebrauch heiß.
-
Abmessungen: 87x56x25.5mm
Lieferung ohne Pi 4
A product of Pimoroni.
Note: we carry a similar Pi 4 case model from The Pi Hut, with two active fans and cooling fins - it's worth comparing :-)
Why use a heatsink and a case, when you can use a heatsink case?! This sleek, anodised aluminium case for Raspberry Pi 4 will give you 10-15°C of passive cooling under full CPU load. Pretty cool.
This anodised aluminium heatsink case will protect your Raspberry Pi 4 and give you the best passive cooling we've seen in our extensive testing. It's great for situations where you want completely silent cooling, like home media centres.
It comes with a thermal pad to provide thermal contact between the CPU and top case, and a handy allen key and set of hex bolts to attach the case together.
The case gives you access to all of the ports, pins, and connectors. You can just about get away with using low-profile HATs and pHATs (those without bulky components on the underside, using one of our booster headers, but be extremely careful not to short any components on the metal top case!
Features
- Anodised aluminium top and bottom case
- Heatsink fins
- Thermal pad
- Hex bolts and allen key included
- Access to all ports, pins, and connectors
- Compatible with Raspberry Pi 4
Assembly
Click here to see our tutorial on assembling the case, or follow the brief instructions below.
Assembling your heatsink case is pretty easy and should only take a couple of minutes. The first, and most important thing is to make sure that your Pi is powered off and unplugged before you fit the case.
Take one of the thermal pads and peel the protective films off both sides of it (there's a white film and an easy-to-miss clear film on the other side. Stick the thermal pad onto your Pi's CPU (the metal square nearest the middle of the PCB).
Sticking the thermal pad to the CPU first is a much better way to position it correctly than trying to stick it to the case. Only use one thermal pad with the Raspberry Pi 4.
Position the top case and then, holding it in place, flip the whole thing over and position the bottom case on the underside of your Pi. Use the four hex bolts and allen key to secure the case.
Notes
- The case is metal and hence conductive, so be careful not to short any components on it, and ensure that your Pi is powered off and unplugged when fitting the case
- It may be obvious, but the case will get hot in use
- Dimensions: 87x56x25.5mm
Delivery without Pi 4.
Sicherheitsangaben
- Lesen Sie die Bedienungsanleitung sorgfältig durch, bevor Sie das Produkt verwenden.
- Stellen Sie sicher, dass alle Montage- und Installationsanweisungen des Herstellers sorgfältig befolgt werden.
- Verwenden Sie das Produkt nur für den vorgesehenen Zweck.
- Die unsachgemäße Nutzung dieses Produkts kann zu schweren Verletzungen oder Sachschäden führen.
- Nicht für Kinder unter 10 Jahren geeignet.
- Bei unsachgemäßer Verwendung besteht eine Verletzungsgefahr.
- Dieses Produkt entspricht den geltenden Sicherheitsanforderungen der Europäischen Union.
- Dieses Produkt wurde gemäß der GPSR geprüft, die sicherstellt, dass alle relevanten Sicherheitsanforderungen für Konsumgüter eingehalten werden.
Nachverfolgbarkeitsinformationen
Jedes Produkt verfügt über eines oder mehrere der folgenden Merkmale:
- Ein CE-Kennzeichen, das die Einhaltung der Sicherheits-, Gesundheits- und Umweltschutzanforderungen der Europäischen Union anzeigt.
- Eine eindeutige Serien- oder Chargennummer, um die Nachverfolgbarkeit zu gewährleisten und bei Bedarf Rückrufaktionen zu unterstützen.
- Hersteller- und Importeurangaben für den Kundensupport und Sicherheitsanfragen.
Überwachung und Berichterstattung von Vorfällen
Für den unwahrscheinlichen Fall eines Produktproblems haben wir Verfahren implementiert, um:
- Kundenbeschwerden zeitnah bearbeiten.
- Schwerwiegende Vorfälle über das EU Safety Gate/RAPEX-System melden.
- Mit den Marktüberwachungsbehörden zusammenarbeiten, um die öffentliche Sicherheit zu gewährleisten.
Kontakt:
- Email: support [@] pi3g.com
- Telefon: 0341 / 392 858 40
Dieses Produkt ist vollständig mit allen geltenden EU-Vorschriften konform, um die Sicherheit unserer geschätzten Kunden zu gewährleisten.


